Bus Routing Techniques in Logic Pro
Bus routing is very important in music production. It allows you to group tracks, change signal flows and overall gives you more control over your session. In this blog, we’ll go over some techniques so that you can use them to create your tracks.
The Importance of Bus Routing
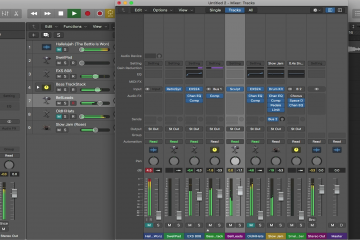
By default, tracks in your session automatically route to the master bus. The master bus is the last track in the signal chain that all of your tracks feed into. Logic Pro references this track when bouncing out your audio to create your mp3, wav or other audio file. A good technique that breaks away from this default routing is to create an auxiliary track (aux track) and route tracks to that auxiliary instead of the master bus. The auxiliary should then route to the master bus. By doing this, you have created a “pitstop” for your tracks before it reaches its final destination.
Auxiliary tracks do not function like normal audio tracks or MIDI tracks as they cannot hold audio files or MIDI, but they do allow for effect plugins. If you have multiple piano tracks and want to mix them as a whole, create an auxiliary track and route your piano tracks to it. You can then place effects onto that auxiliary track and it will affect only the tracks that are routed to it.
Another example is to create an auxiliary track for the reverb of an instrument. If you want reverb on lead vocals, but want it to be separate from the initial track, route your lead vox track to an auxiliary track and put your reverb plugin on that track. This will allow for you to manipulate the reverb itself while keeping the raw voice untouched. Notice then if you solo the auxiliary track, you will hear the reverb from the singers voice, but not the actual voice.
How to Bus Route in Logic
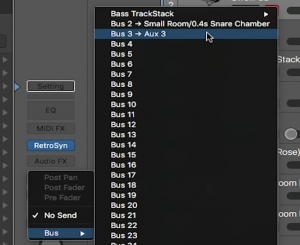
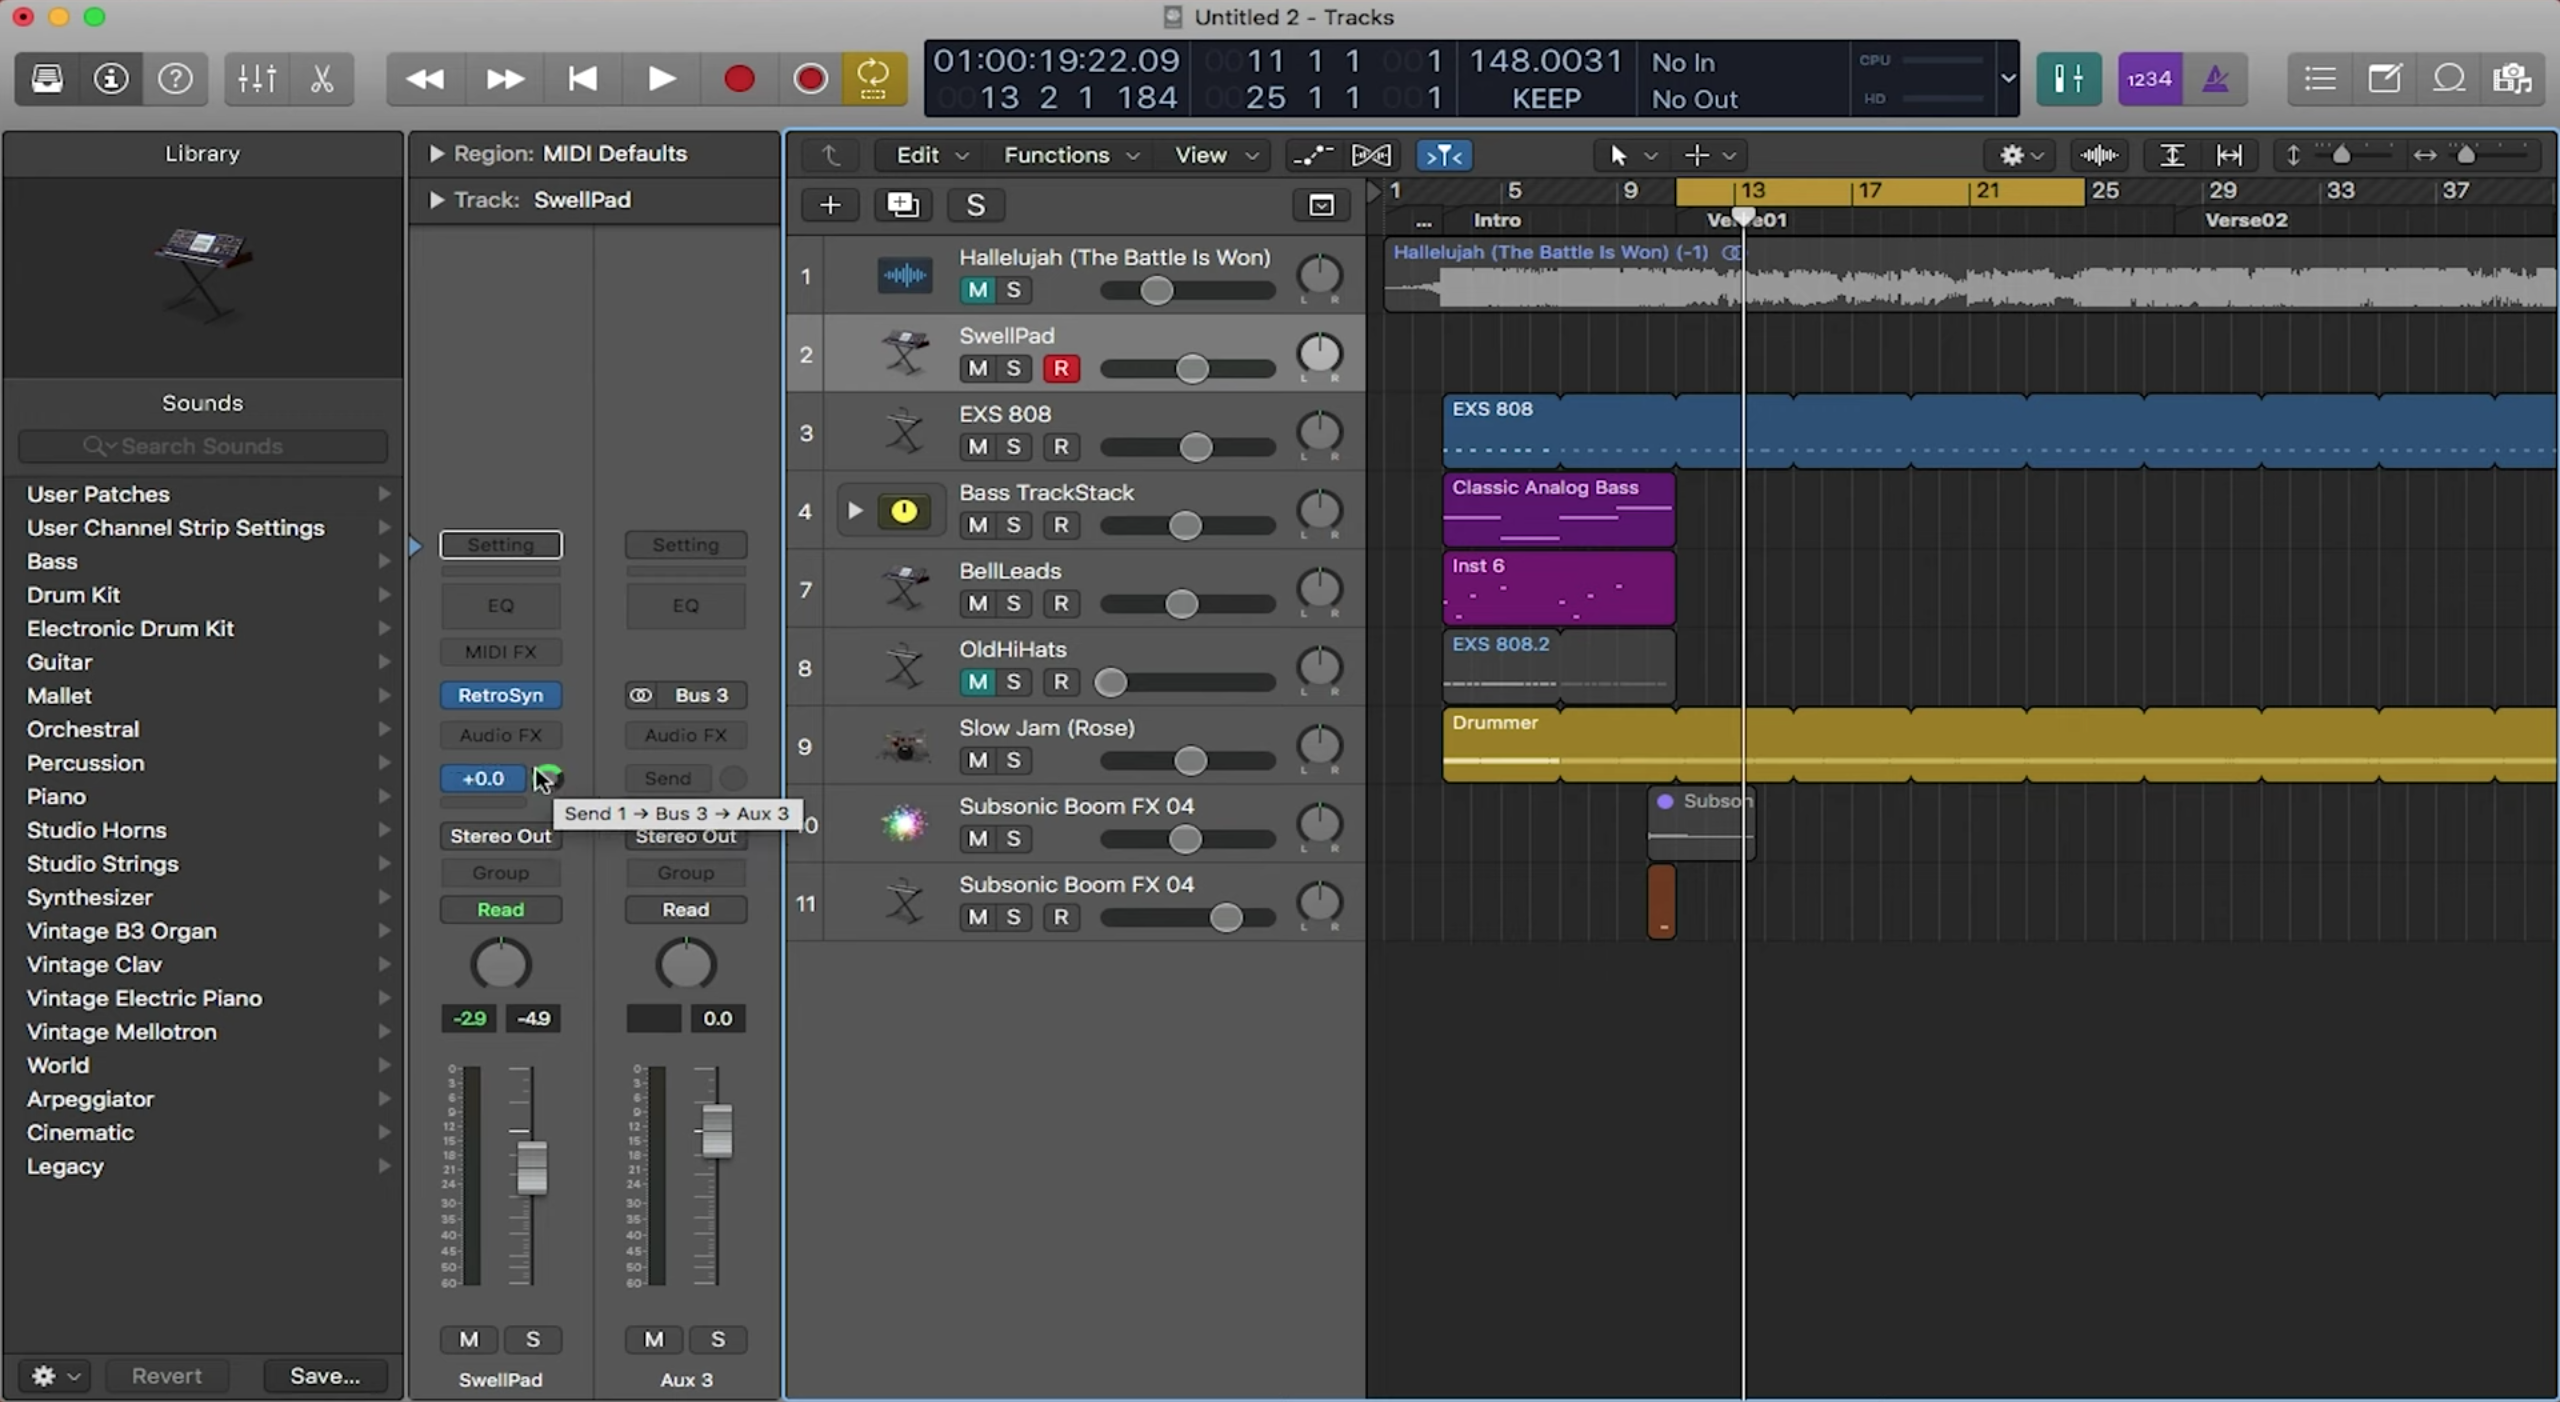
Bus routing in Logic is simple! On a tracks channel strip, there is a button labelled send. Click and hold this button and a drop down menu should appear. Hover over “Bus”, then select a new bus. Your track is now routed to that new bus. Next to the “Send” button should be a small dial representing how much signal of that track you want to send to the bus. Simply click and drag to turn up the dial to send signal to the aux track.
The Ultrabeat Sequencer
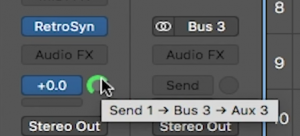
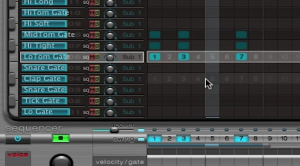
Another technique for bus routing is to use Ultrabeat’s sequencer to create a pulsating sound to otherwise stagnant instruments. Create an auxiliary track for the instrument you want affected. Then add an Ultrabeat plugin on an empty track. On the top of the Ultrabeat is a dropbox menu where you can select a preset. Select the “Side Chain Gate” preset. Then at the top right of the the plugin where it says “Side chain”, select the aux track of the track you want affected.
Open the full view of Ultrabeat by clicking “full view” in the bottom right of the plugin. Here is where you will see the sequencer. Now in this sequencer is where you will create a pulsating sound. Click within the boxes to form your rhythmic pulsating sound. It may be best to just mess around and see what sounds and rhythms affect your instrument.
And that’s how you use bus routing techniques in Logic Pro! Stay tuned in next week as we go over automating your tracks.
0 Comments