Introduction to Using Logic Pro in Worship
Are you interested in producing your own tracks? Logic Pro is Apple’s digital audio workstation and is an application that worship leaders can use to produce and run their tracks. Logic’s simplistic design makes it user-friendly and is great for beginner-level producers. We will be doing a blog series on Logic Pro, to focus on the features you need to know to get started!
Templates and Settings
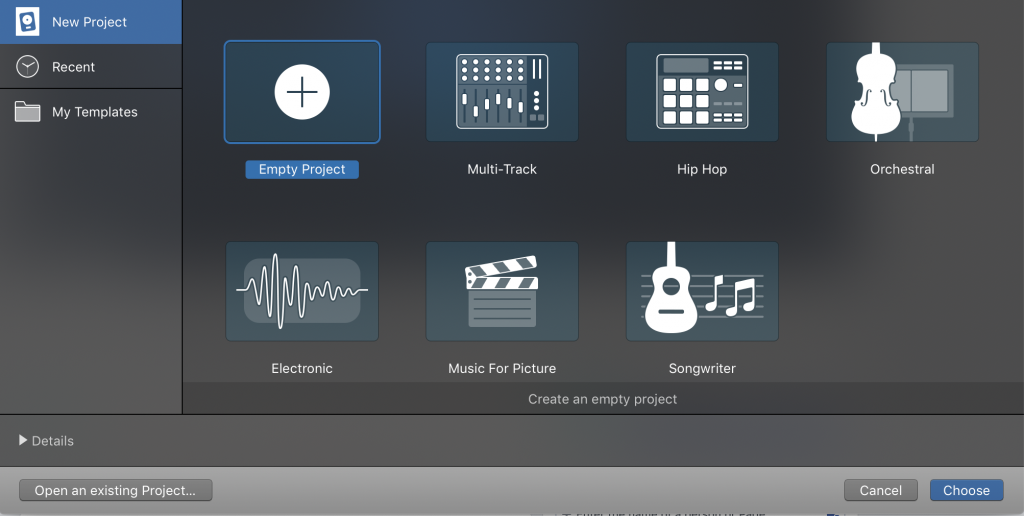
When you first open Logic, you will first see the “Choose a Project” window. This window acts as a sort of lobby or debriefing room before diving into Logic. It gives you the option to start from an empty project, or to start with a pre-made template. These templates give you a little head start by adding in certain tracks for you. For example, the “Orchestral” template opens a Logic session with a bunch of tracks, each containing a different orchestral virtual instrument such as a flute or violin. For beginners, we suggest choosing an empty project so you can get a fresh feel for the interface.
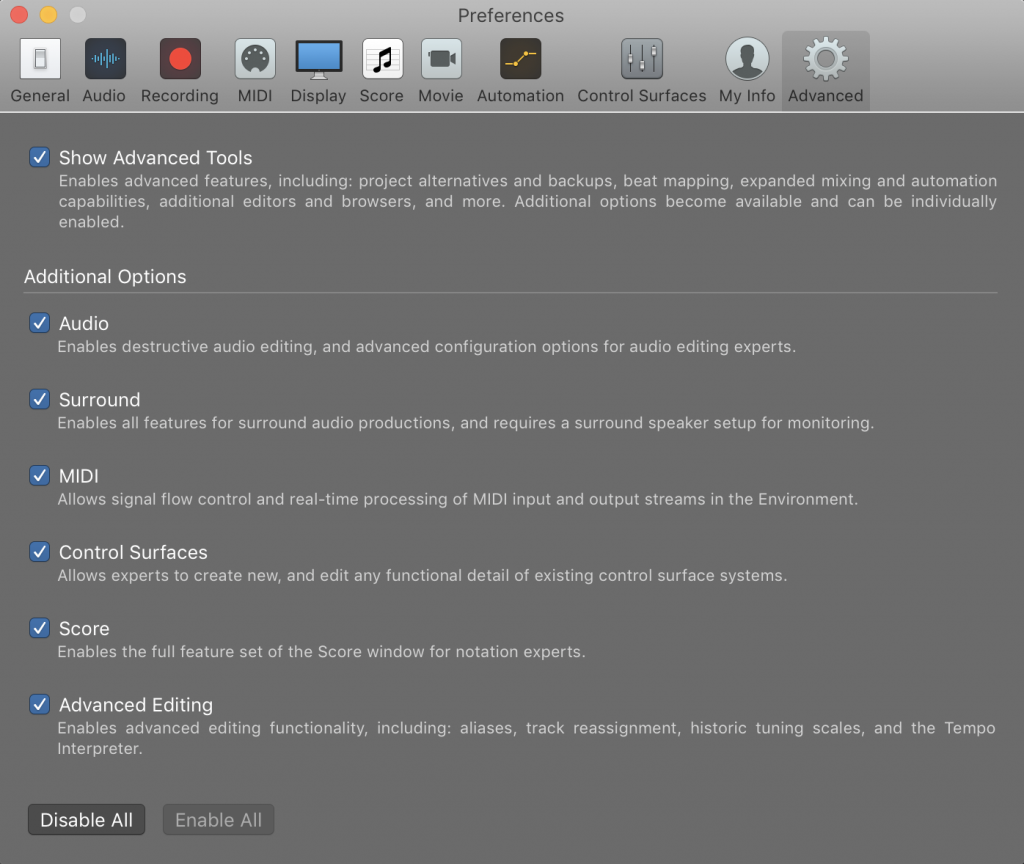
When opening Logic for the first time, you will want to adjust the settings so that you can access its advanced tools. This just gives you more control over things like project backups and expanded MIDI capabilities, so that you can take advantage of Logic’s full capabilities. Even if you don’t use any of these advanced tools initially, later on down the road you won’t be confused as to why certain tools aren’t showing in your application. To “show advanced tools”, click on Logic Pro in the top toolbar, then go to Preferences, Audio, Advanced Tab, and select “show advanced tools”. Now your settings are ready to go.
Understanding the Interface
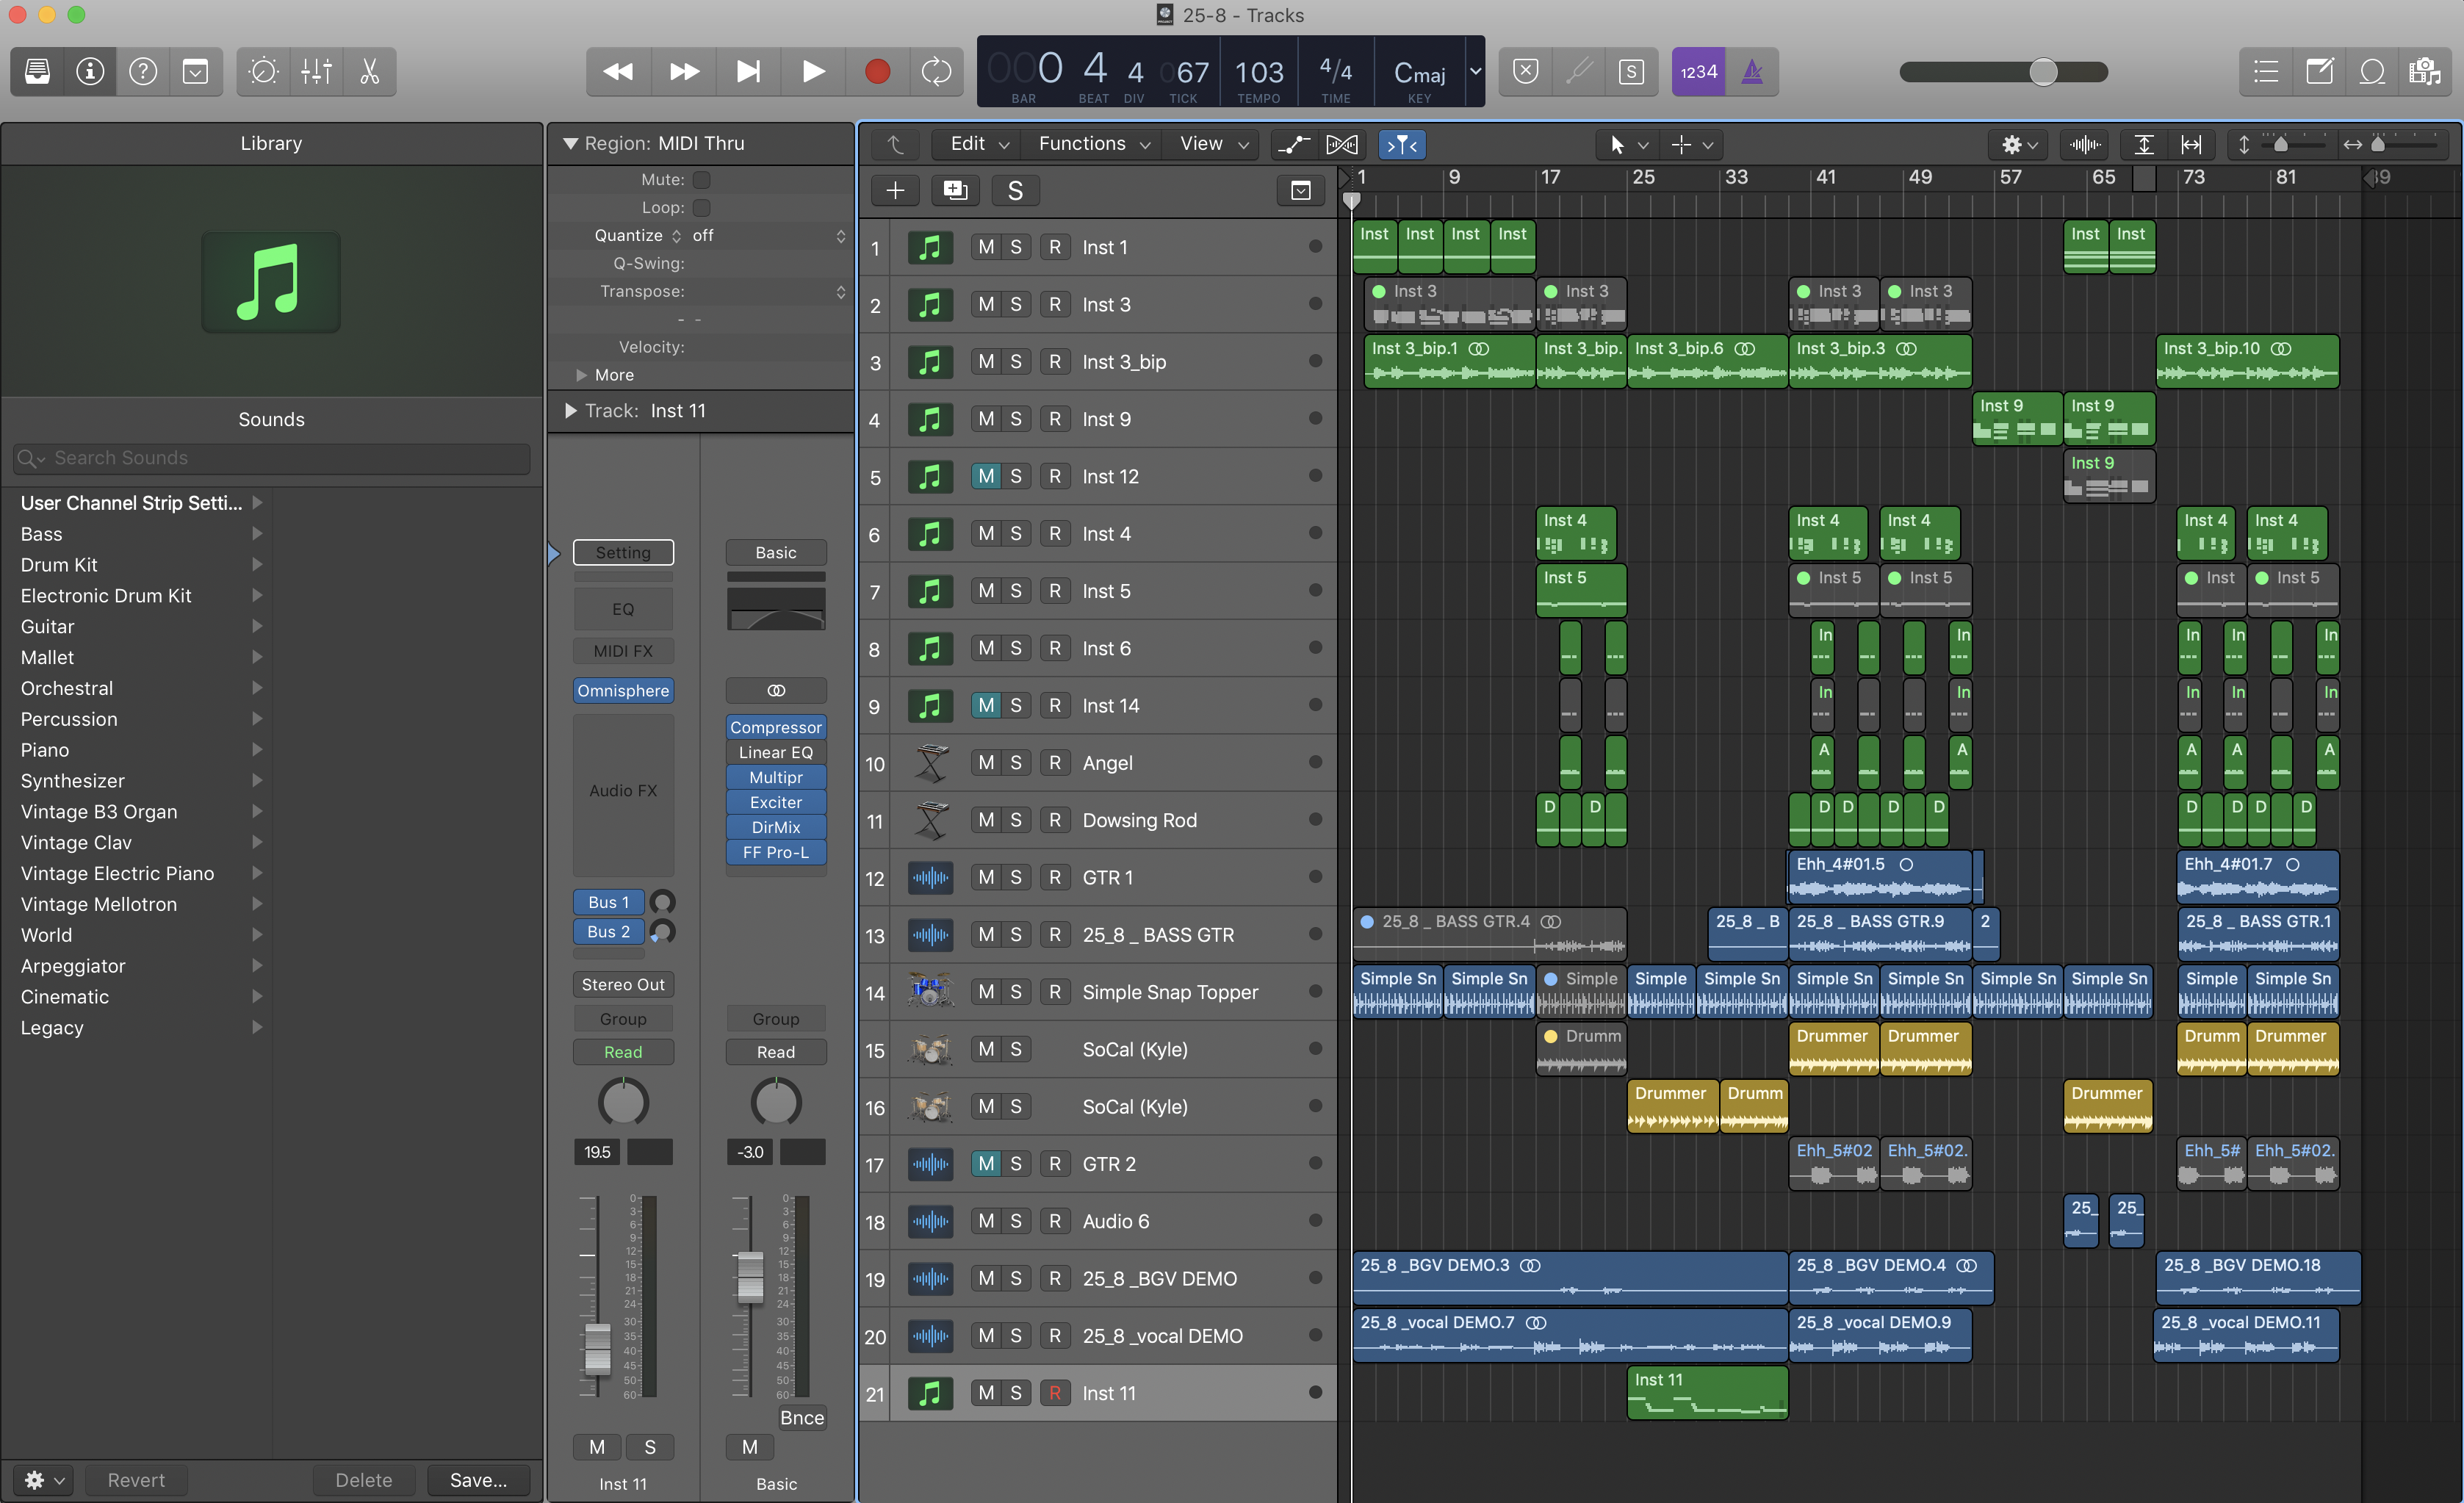
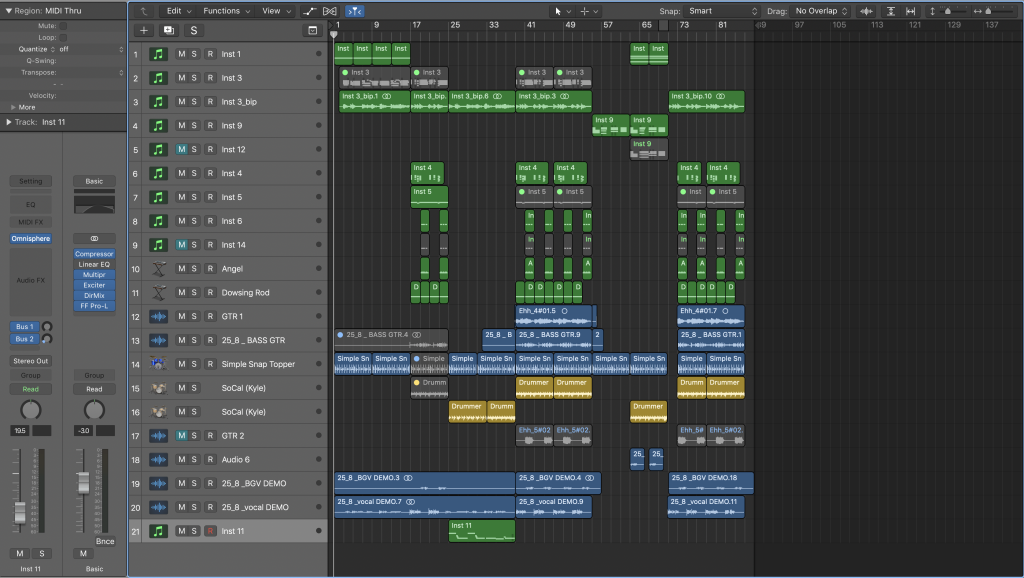
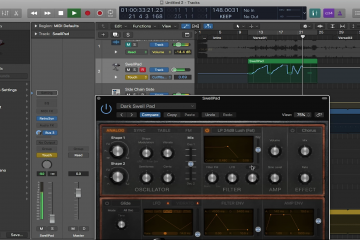
Now that you have an empty project open, the window that you are seeing is called the “Main Window”. This is where all of your audio, MIDI and auxiliary tracks will be. To add a track, simply click on the “+” button in the top left of the main window.
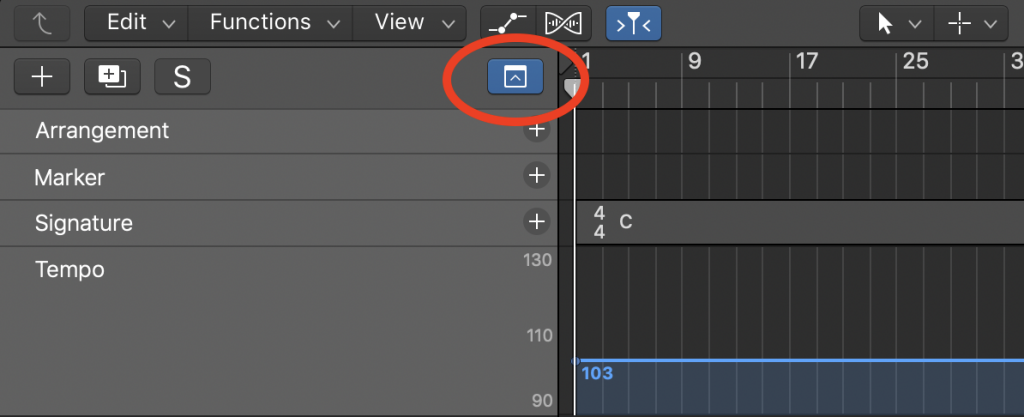
If you click on the global tracks button, the global track window will appear. Global tracks include tracks for tempo, time signature, markers, and the arrangement. If any of these are not initially showing, you can summon them by right clicking anywhere in the global tracks area. These global tracks provide a little more information about your track and can be automated in this area.
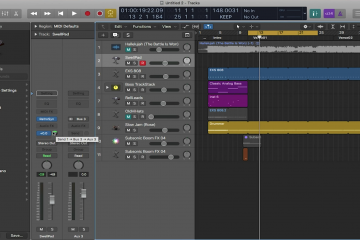
Above the “Main Window” is the control bar. The control bar is where all the transport controls are located. These controls are necessary controls for the workstation. These include the record button, stop button, metronome, etc. The control bar is also customizable and can be done by clicking the small drop down arrow seen below.

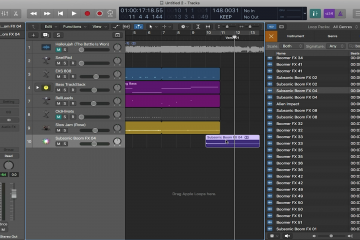
Now that you have your settings adjusted and are more familiar with the user interface, you are ready to add in tracks to your project. In our next blog post, we will cover adding your tracks and using smart tempo inside of Logic.
0 Comments