How to Export Your Tracks in Logic Pro
Exporting your tracks is the last step to get your tracks out and ready to be played back for worship! After exporting, you can then bring them into Prime, MainStage, Ableton, or any other DAW.
Cycle Region
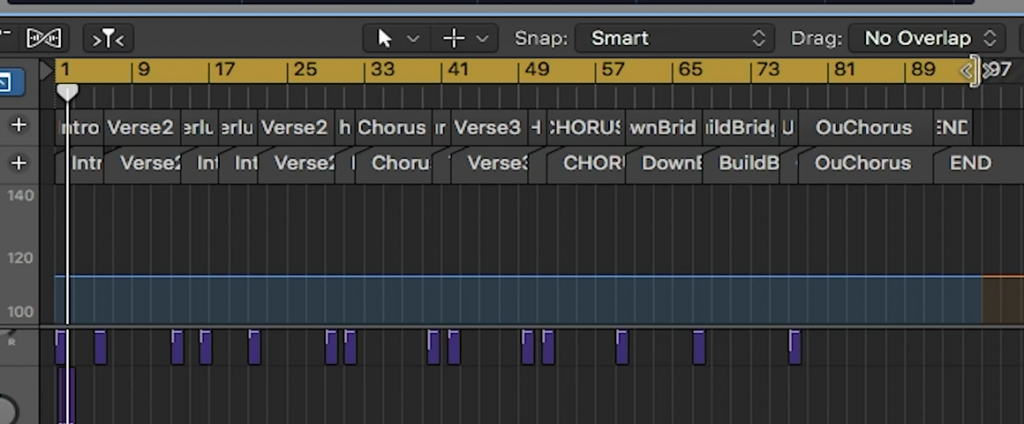
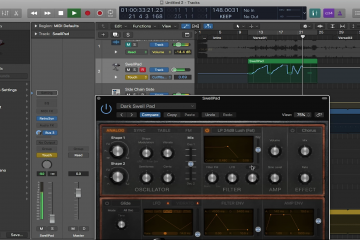
When exporting tracks in Logic, the cycle region is the key. The cycle region is a yellow bar towards the top of the screen, right under the control bar. When the cycle region is toggled on, anything that is within the region is considered highlighted. This means that when exporting, anything within the cycle region is what will be exported. Whatever is outside of that region, will be ignored by Logic. To toggle on the cycle region, simply press C on your keyboard. Once it is on, you can click and drag the region to move it anywhere in the timeline. If you click and drag the edge of the region, the cycle region will lengthen. There is also a handy shortcut when wanting to have a certain track or clip in the cycle region. Simply click on the desired track or clip, then press command + U. The cycle region will then mirror the length of whatever is highlighted.
Export Options
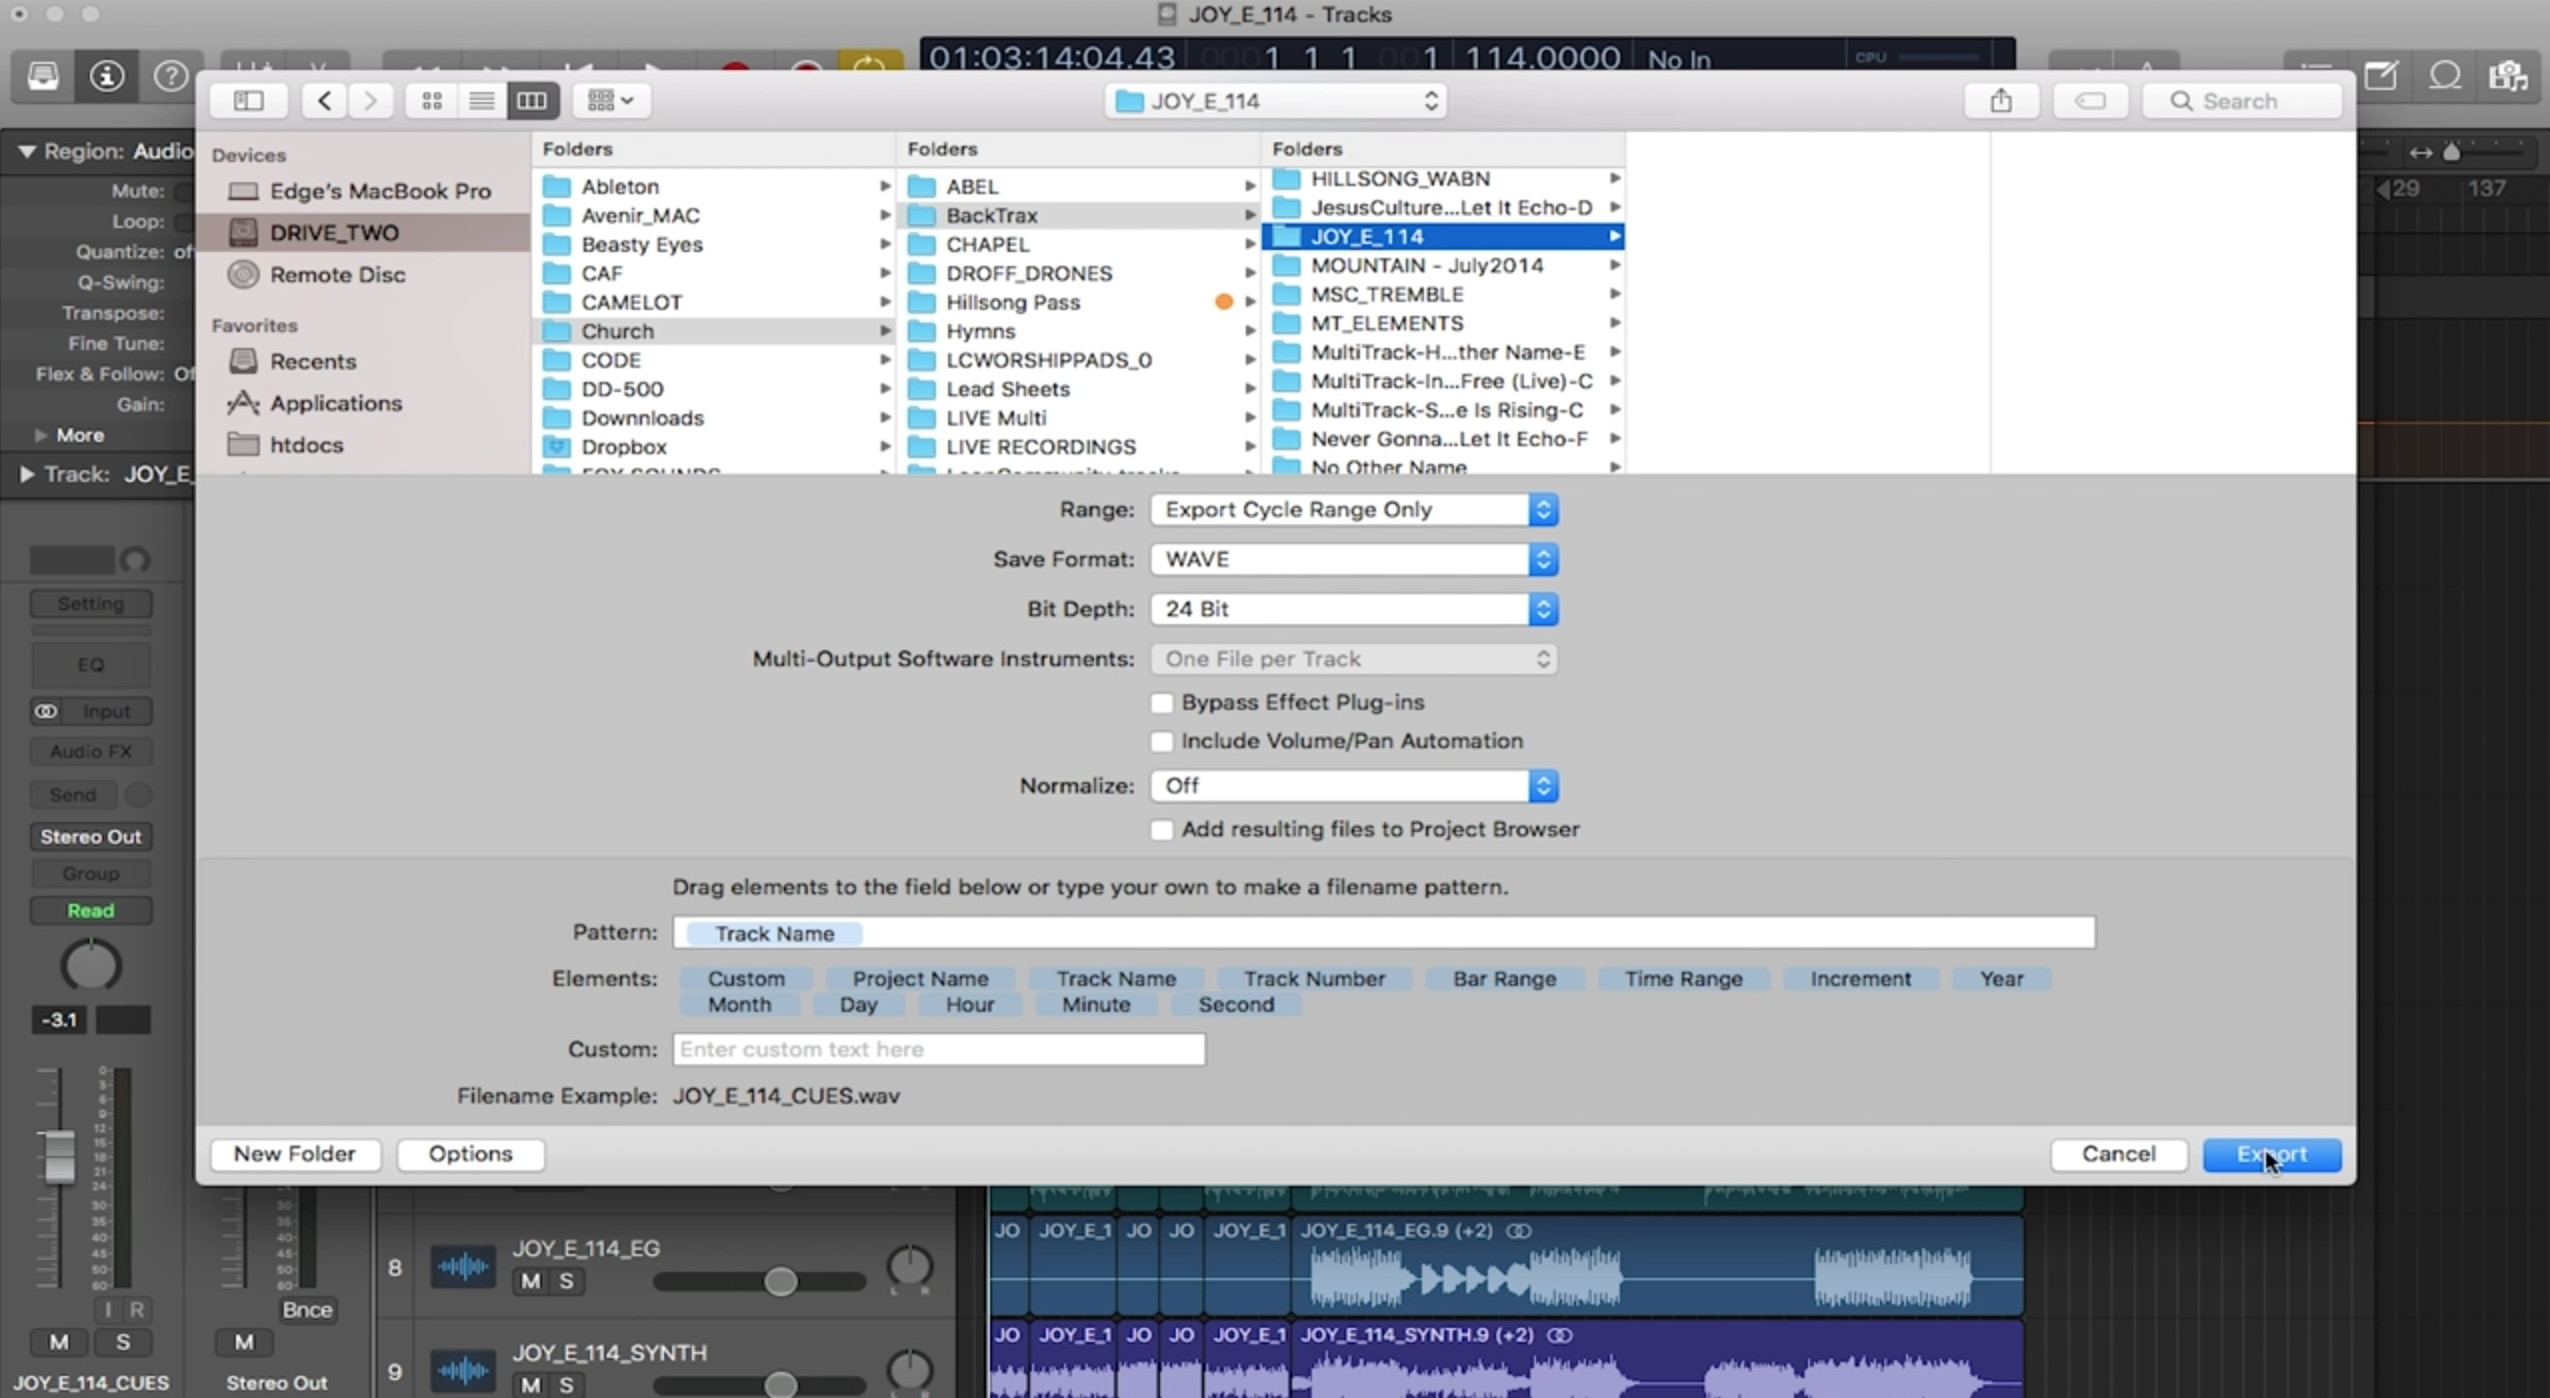
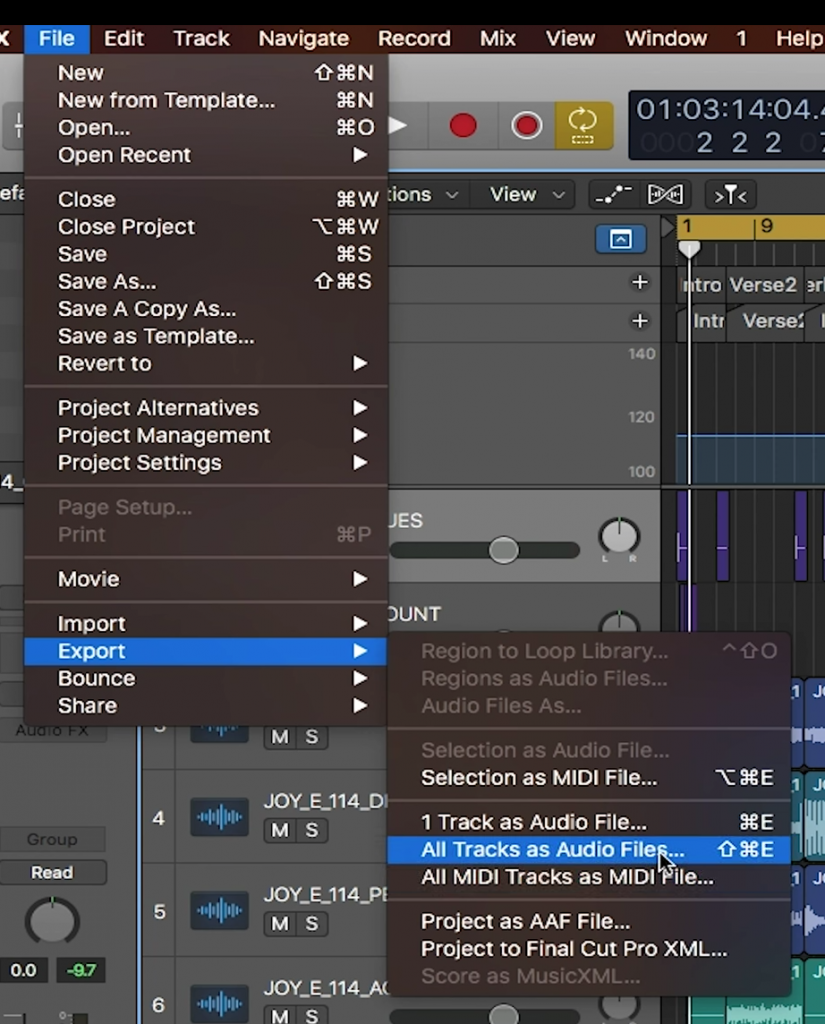
Once you have the cycle region all set up, you are ready to export. There are two types of export options, the first is to export all the files together as one file. The second option is to export each of the tracks so that they are separate. For running tracks in worship, the second option will work best. To export each track separately, select “File”, “Export”, “All Tracks as Audio Files”. If you want to export all the files together as one consolidated file, select “File”, “Export”, “1 Track as Audio File”.
A couple things to note: Make sure that when exporting, there are no tracks or individual clips selected. This may compromise the export process and export only those selected tracks/clips. Also, make sure that the metronome is turned off. If it is turned on, the metronome will be exported along with your tracks.
Now after pressing export, the export popup window should appear. In this window, there are two main options that you will want to select. The first is the destination of the files you want to export. To choose the destination, simply toggle through the folders until the desired folder is opened. The next important option is to select the type of format the files should be. We recommend .wav files, but .mp3 files are also an option.
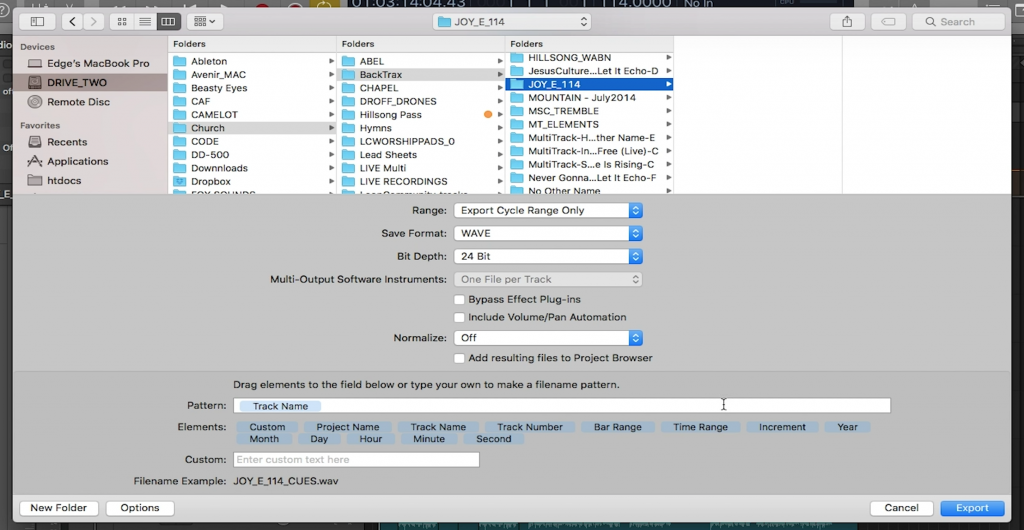
Once you have all your settings ready, press Export in the bottom right of the window, and your files will start exporting!
If you want to upload these files to the Prime Cloud on LoopCommunity.com, you can learn how here.
0 Comments