How to Set Up a Project in Logic Pro
Have you ever wanted to create your own tracks? Now that we have gone through the basic Logic Tutorial Series, we can dive deeper into Logic. Logic Pro is one of the best Digital Audio Workstations for producing music. In this series called the Logic Production Tutorial Series, we will take a deeper look into Logic and how to produce music for your worship team.
Creating a Project
If you are relatively new to Logic, creating an empty project may be best. Later on in the tutorial, we will cover project templates, but for now let’s work with a clean slate.
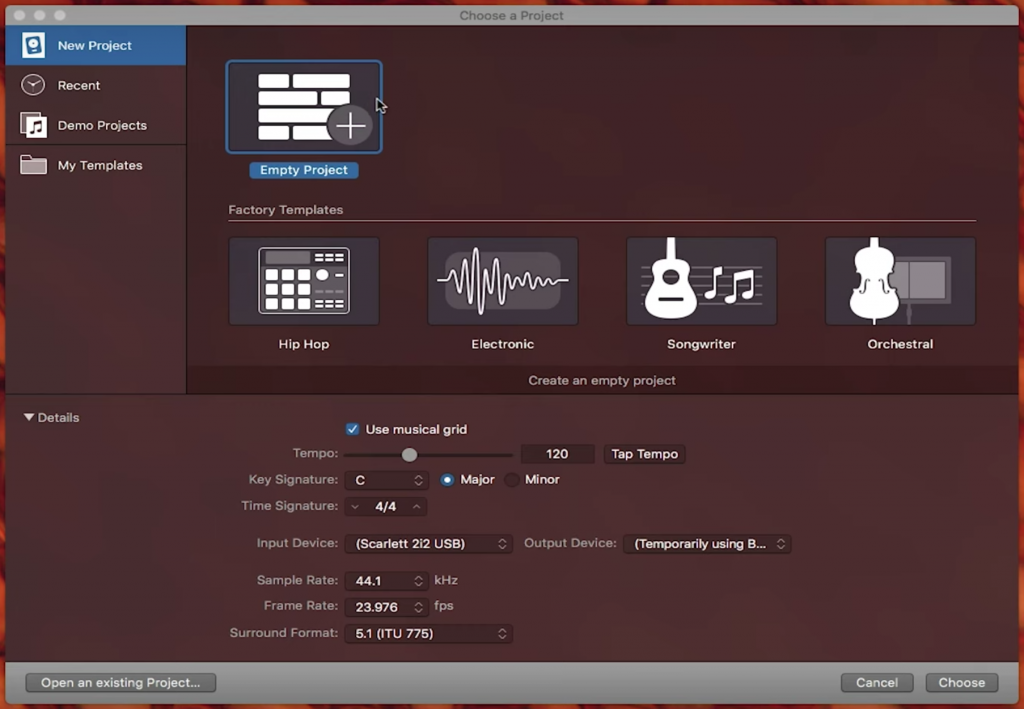
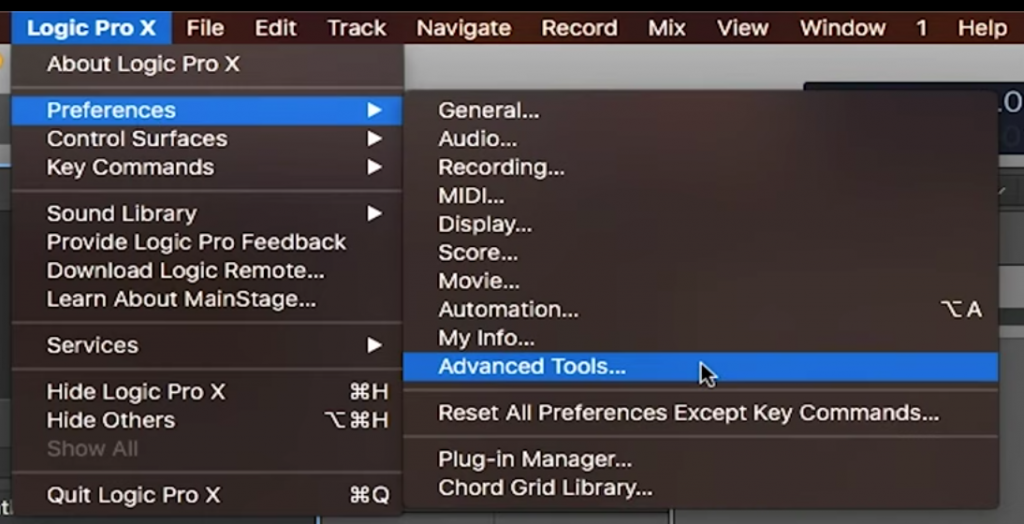
If you haven’t done so already, make sure to enable your advanced tools to get the full capabilities of Logic. To do so, go to “Logic Pro X” in the top toolbar, select “Preferences”, “Advanced Tools…”, and select the “Show Advanced Tools” button.
Types of Tracks
Once the project is created, a pop-up window will appear. This window prompts you to select one of several different track types to add in your session. From these options, the two most popular are software instruments tracks and audio tracks.
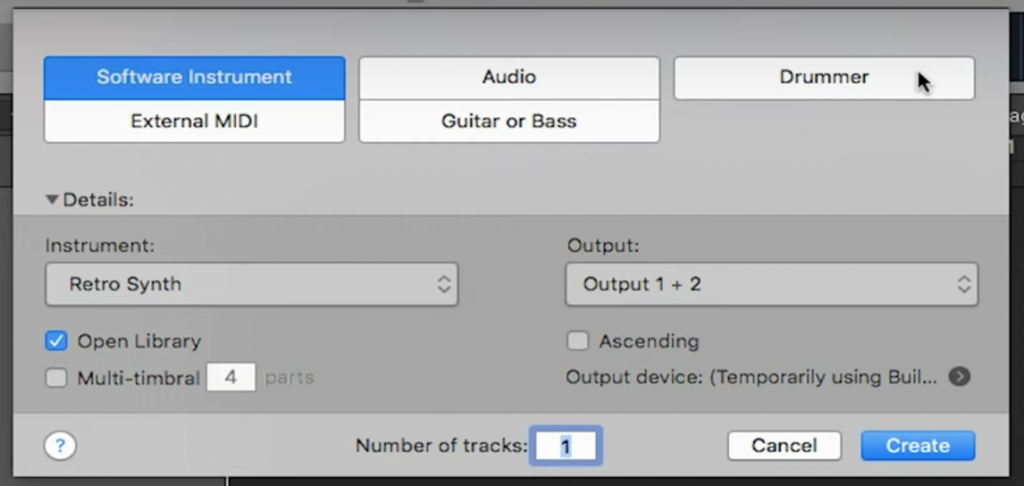
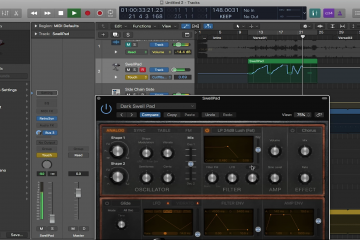
Software instrument tracks can hold virtual instruments, or digital instruments that emulate real life instruments. These virtual instruments are applications or plugins within Logic that can be played and recorded in your computer.
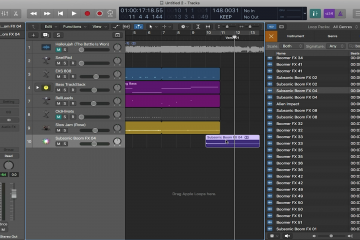
Audio tracks can hold audio files. With this track, you can either record your own sounds if you have a microphone, of import audio files you already have.
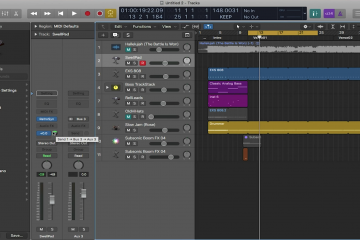
You can always add more tracks in later, and many producers use a mix of virtual and real instruments in their sessions. For this tutorial, let’s create a software instrument track. You can always add in more tracks by selecting the small plus button right above the names of the tracks.
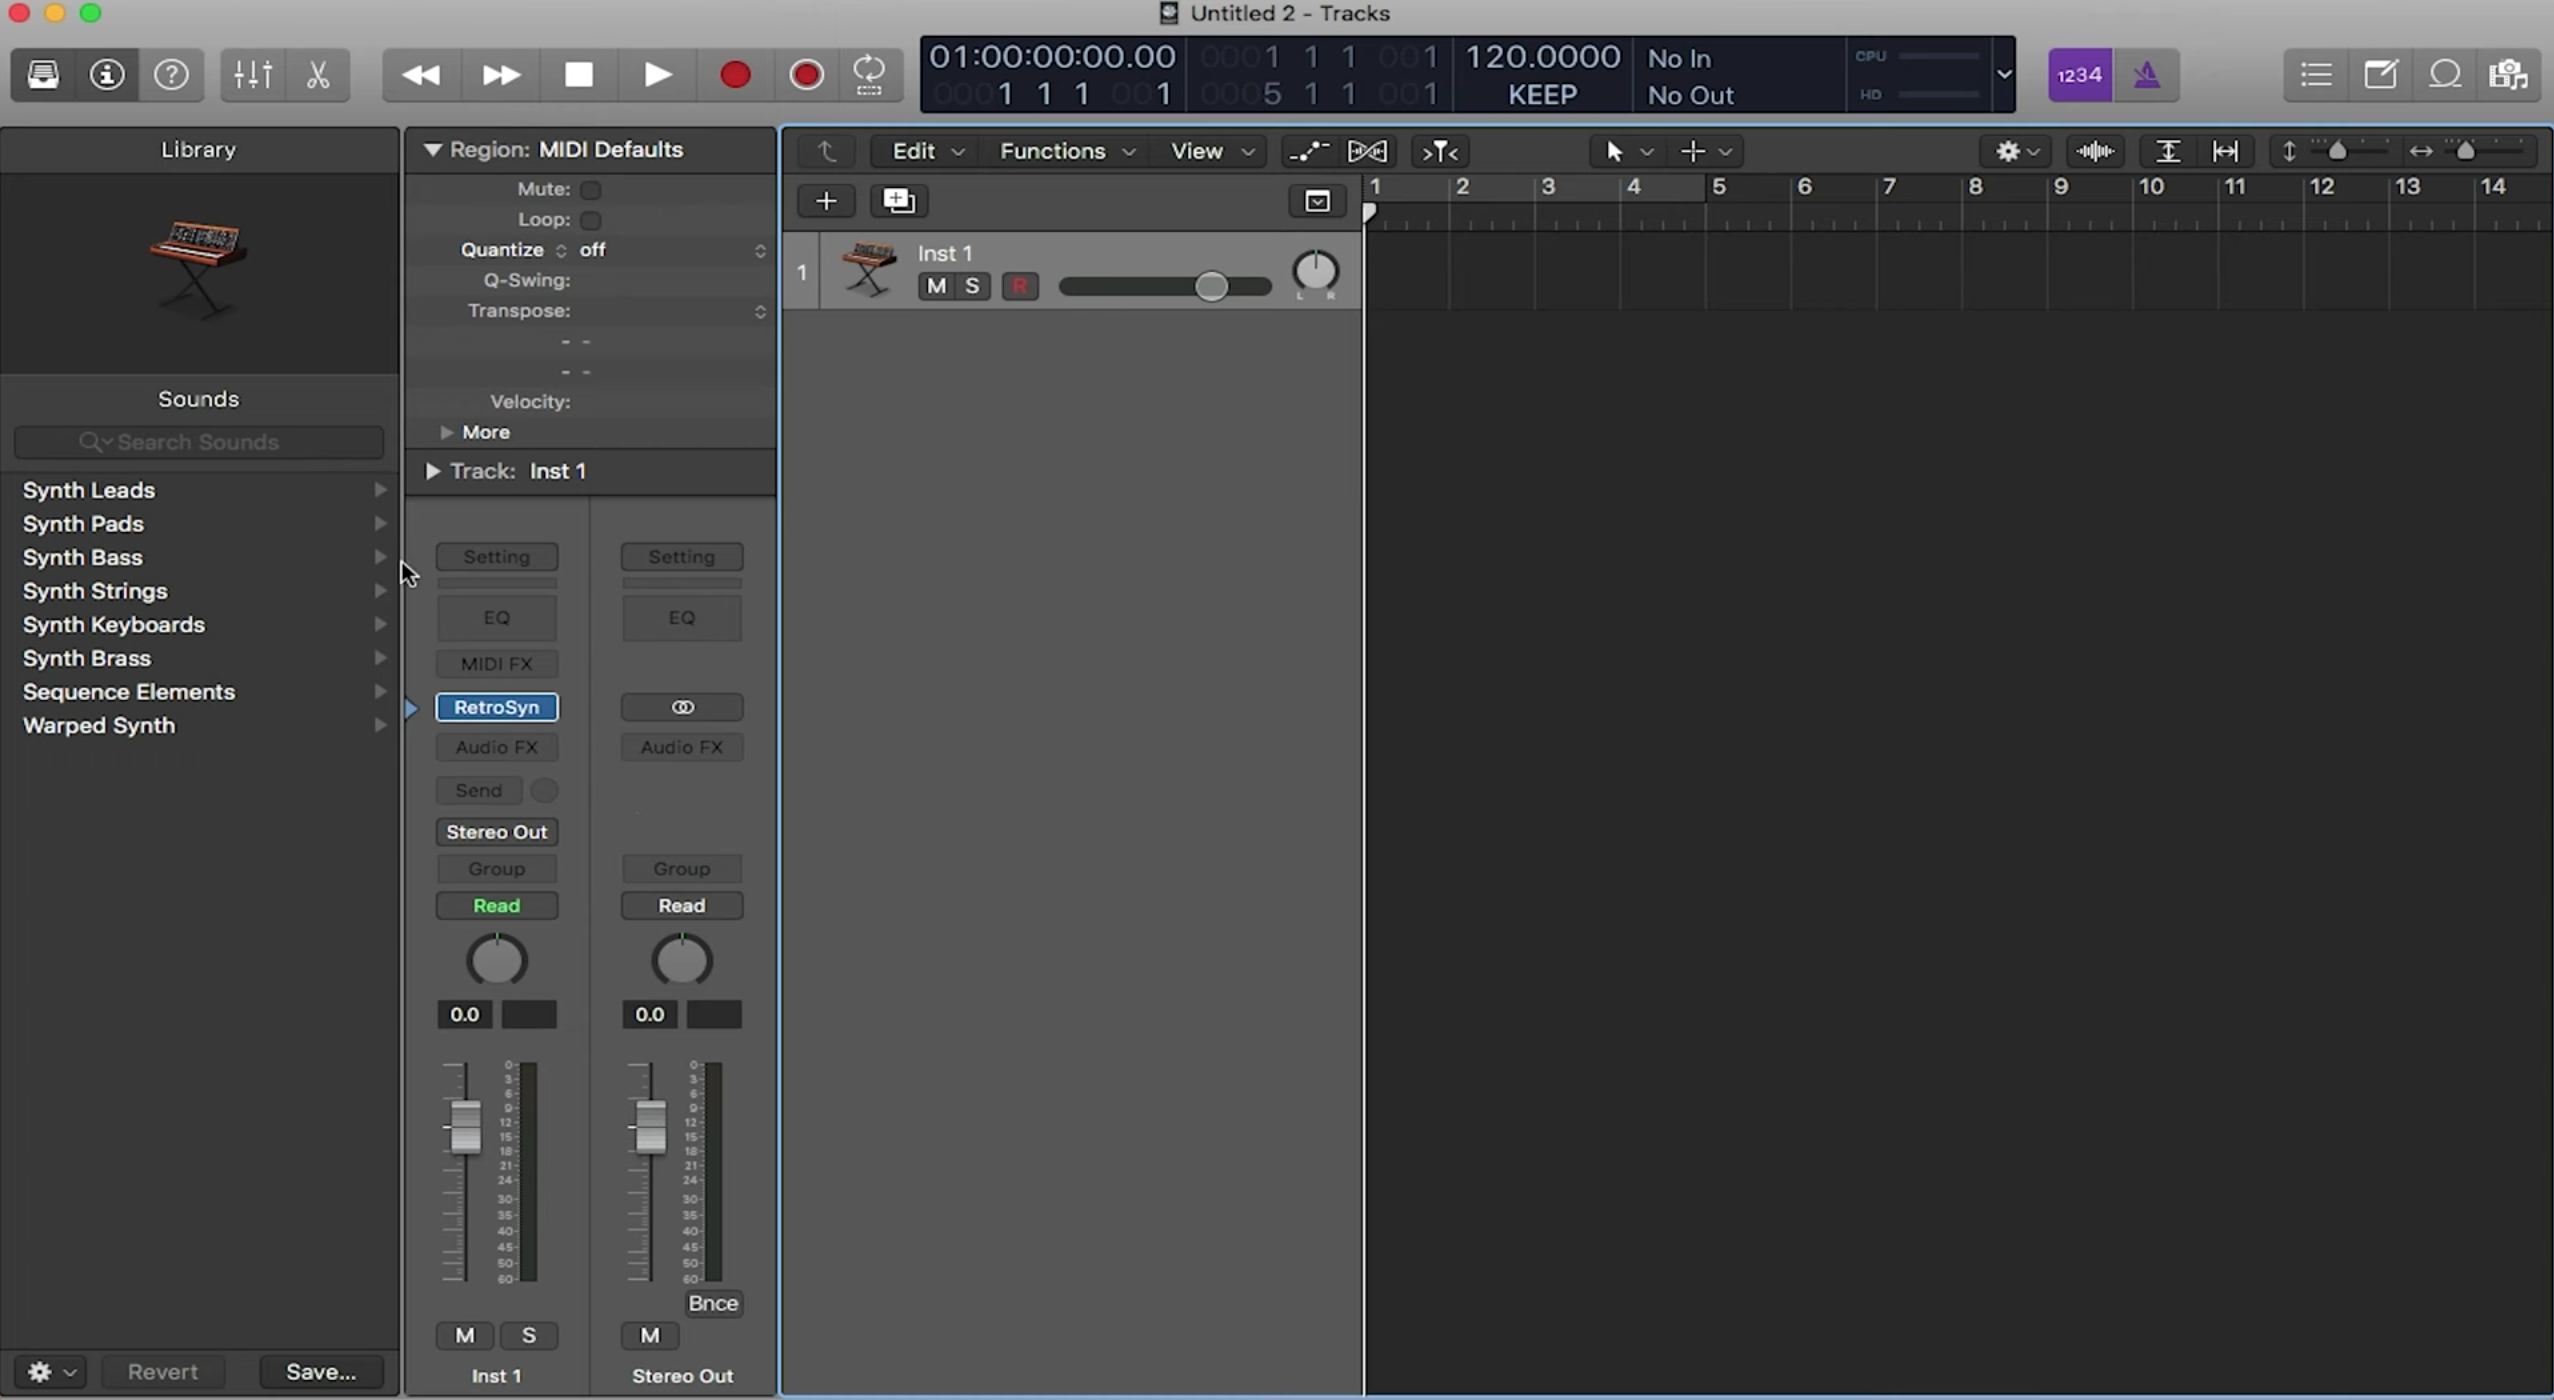
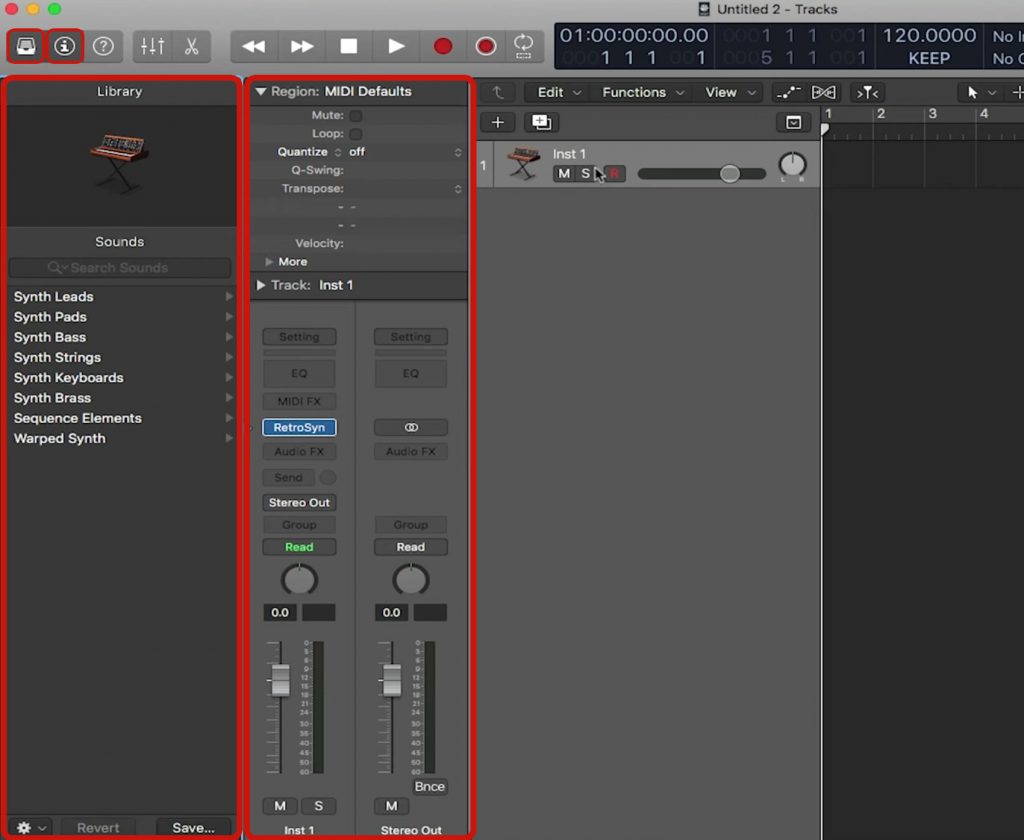
The Library
Now when you create a software instrument track, it automatically gives you a default instrument to work with. However, you can quickly change this instrument on the fly. To do so, open the instrument library by clicking on the button in the top left that looks like a crate of vinyls. A side window on the left hand side will open up showing a menu of different virtual instruments. To change a virtual instrument, highlight the track by clicking on it, then select any other virtual instrument from the library. The track will then update to the new instrument you have selected.
The Inspector
In addition to the library, is the inspector. The inspector button is just to the right of the library button. The inspector is useful because it contains 2 channel strips, which makes it easy for reading the volume of a track as well as seeing what plugins a track holds. The inspector determines the channel strips it displays by whichever track is highlighted or last highlighted. Whichever track is highlighted shows in the left channel strip, while the right channel strip is whichever track the first track feeds into. More times than not this will be the Stereo Out channel.
Track types, virtual instruments, the library, and the inspector, are all very important in producing tracks in Logic. In the next installment of this series, we will dive more in depth and start creating and molding sounds using these tools.
0 Comments