Working with Virtual Instruments, Compressors and EQ in Logic Pro
Now that we know how to set up our project in Logic, we can start working with channel strips and virtual instruments.
EXS24
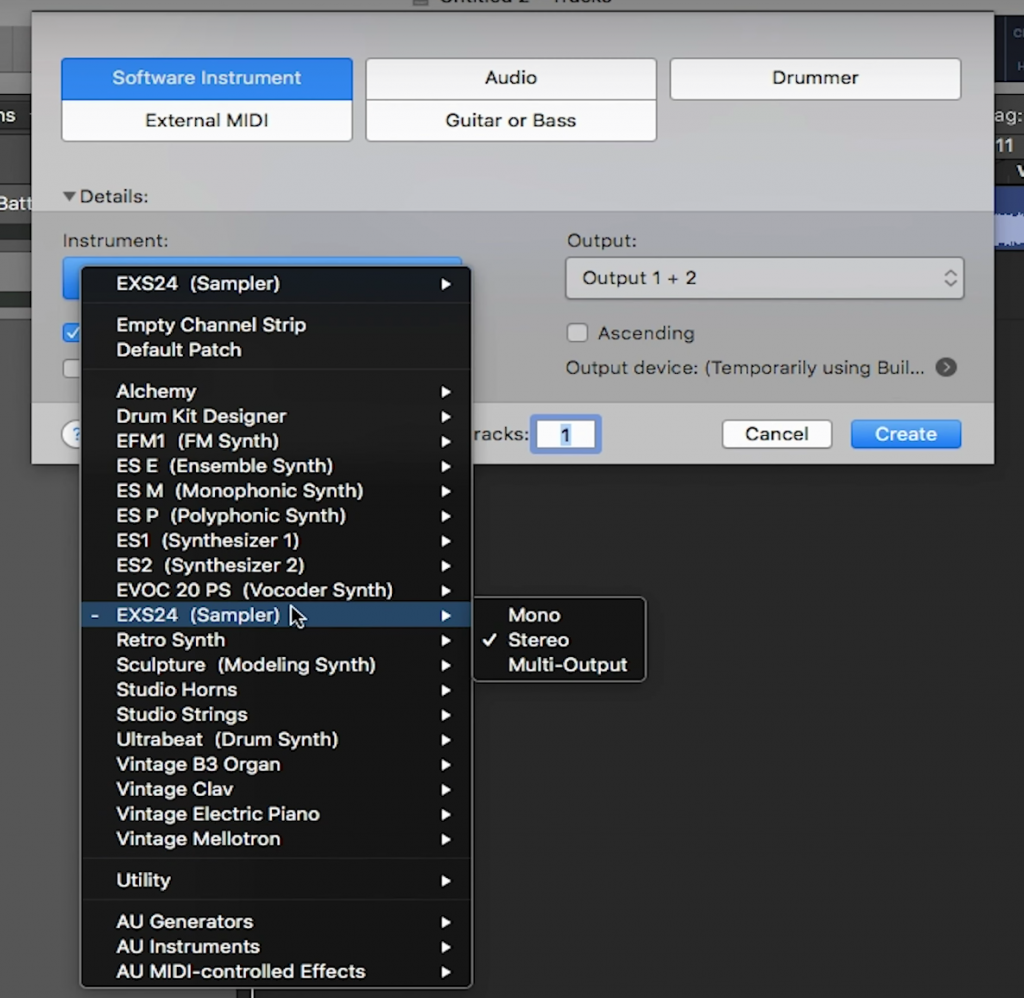
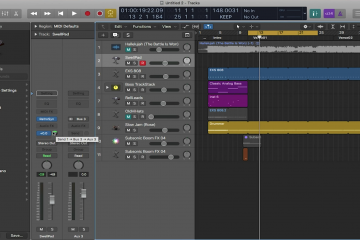
The EXS24 is a great virtual sampler in Logic that lets you play the instruments in Logic’s library. To use this tool, open up the new track window. Then select “Software Instrument”, and under “Instrument:” select “EXS24 (Sampler)”. Also make sure your library is open so that you can sample through the instruments in Logic. A good shortcut to quickly open the library is to press the “Y” button on your keyboard.
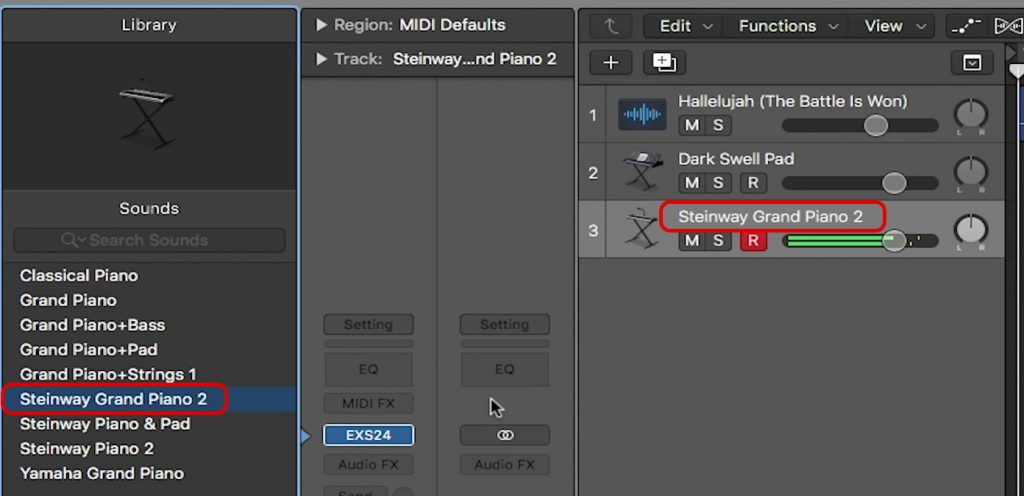
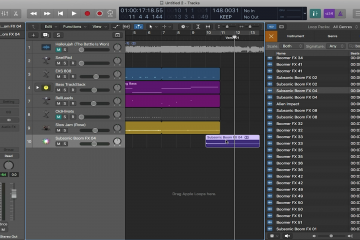
Now that you have Logic’s library open and the EXS24 on a track and highlighted, you are ready to toggle through instruments to see which one you like for your song. Simply click through the library and select any instrument of your choosing. You know the instrument you have selected is ready to be played when its name has appeared on the track in the main window. You can sample the sound of that instrument by opening the piano keyboard in Logic and using your computer keyboard as a piano. To toggle this feature on and off, use the shortcut “CMD-K”, or select “Window”, “Show Musical Typing”. If you have a midi keyboard, simply plug it into your computer via usb and you can sample the instruments by playing the midi controller.
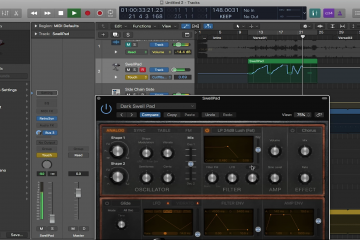
Once you have selected the instrument you want, you can place plugins on the tracks of the instruments to manipulate their sounds. There are many plugins that come free with Logic, and you can find them by clicking “Audio FX” on a channel strip, and selecting one to open it up. The two most basic and popular plugins in the world of production are compressors and equalizers.
Compressors
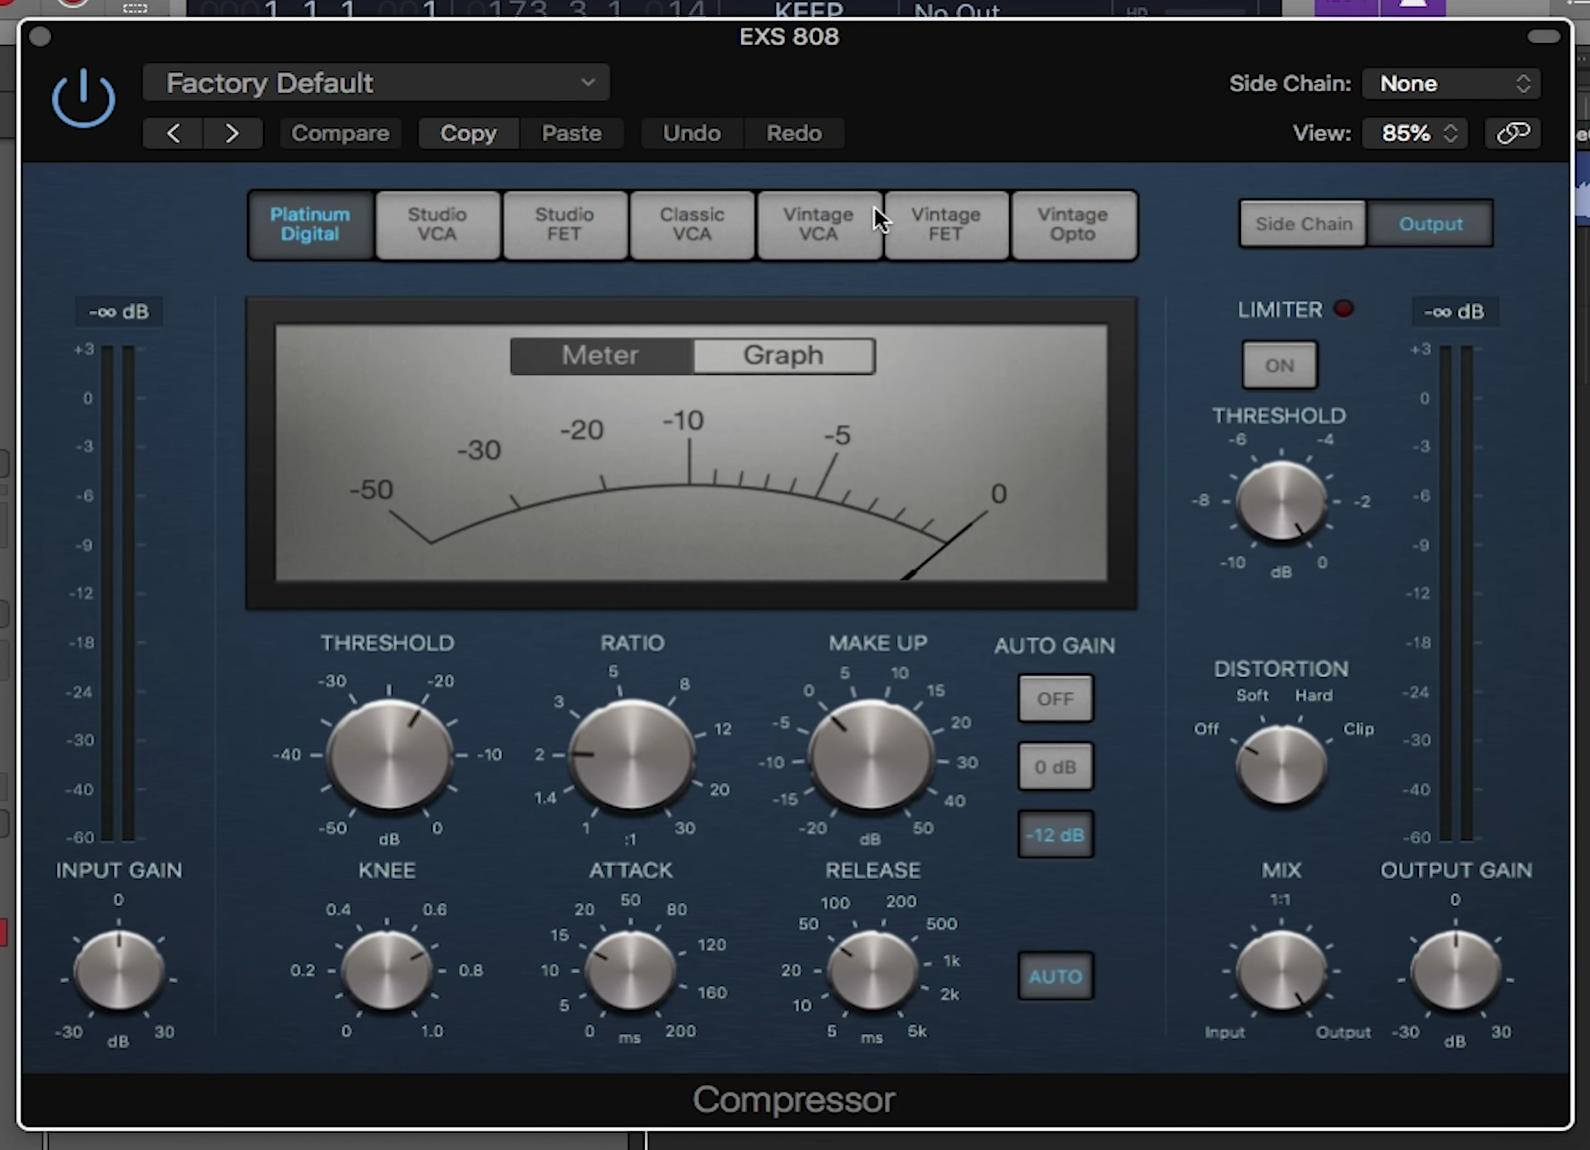
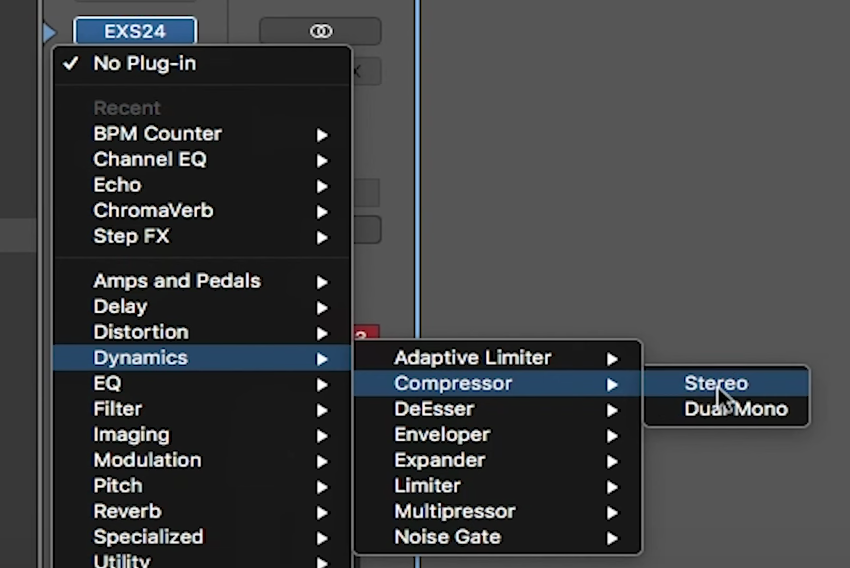
To open up a compressor in Logic, click on “Audio FX” on a channel strip, select “Dynamics”, “Compressor”. A compressor takes the loudest parts of the instrument/audio file and makes it quieter. This then allows for the overall sound to be pushed up louder. In other words, the quieter more subtle sounds get louder while the overpowering sounds get quieter. This gives you more flexibility and allows for the overall sound to be heard more. When using a compressor, you can tweak the process in how the compressor compresses.
There are three main parameters. The Threshold determines what volume level the sound starts compressing. The Ratio determines how much is compressed. Lastly, the Make Up Gain is how much volume you want to push back out after the compressing has occurred. Compressors are good for taming the volume of a sound so that it fits nicely in a mix and isn’t overpowering.

Equalizers
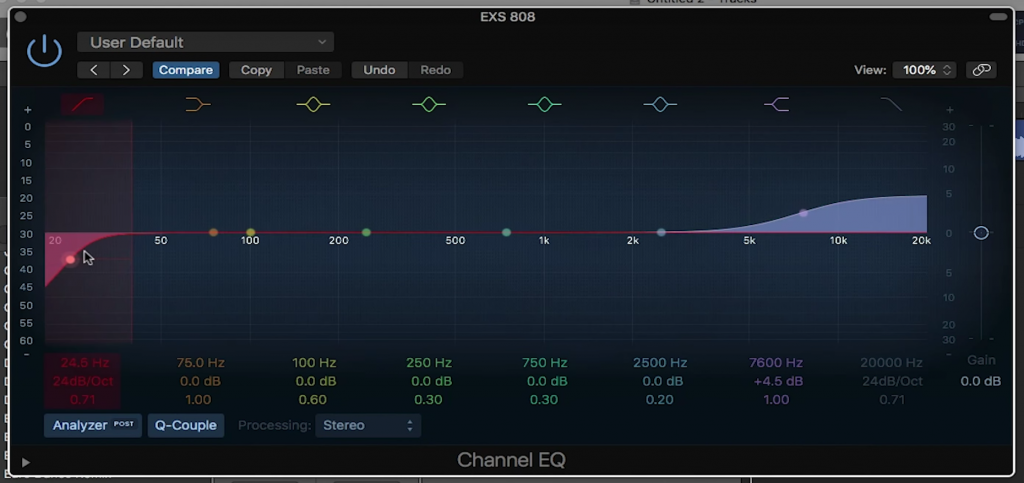
To open up an equalizer in Logic, click on “Audio FX”, “EQ”, “Channel EQ. An equalizer allows you to raise or lower the frequencies of a sound. Most EQ plugins look like a graph. On the left side are the low frequencies and on the right side are the high frequencies. To raise the volume of a sound’s high frequency, drag a circle from the middle of the graph and move it up on the right side of the graph. To lower the volume of those same frequencies, take that same circle and drag it down to the lower half of the graph. You can use all the circles on the graph to shape the sound of an instrument to your liking. This is great for balancing the frequency spectrum of a mix so that all instruments can be heard.
You now know the basics of using an equalizer and compressor. Knowledge of these two plugins as well as the EXS24 give you a great start to producing your own tracks in Logic. In the next blog, we will go over how to record and edit your tracks.
0 Comments