How to Use the Virtual Drummer in Logic Pro
Logic’s virtual drummer plugin is great for starting producers who want a solid drum sound. What the virtual drummer does is basically create a beat for you based on parameters you set. This provides an easy way to quickly get a drum track in your session.
Virtual Drummer
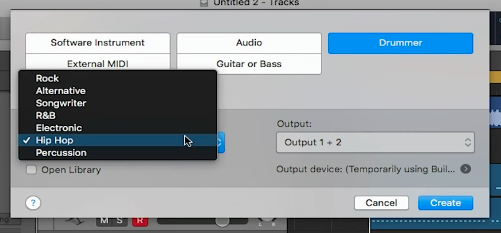
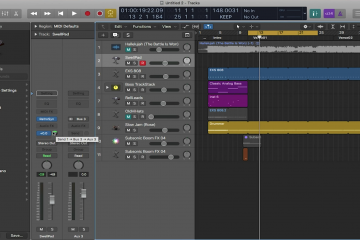
To open the virtual drummer, first create a new track. Then in the new track pop-up window, select “Drummer” as well as the type of genre you want your drummer to play in. Then select “Create”.
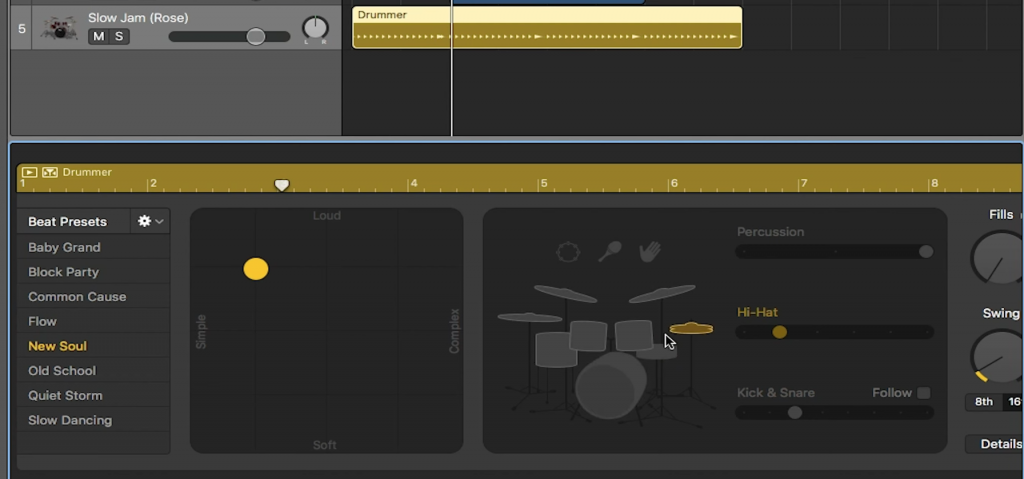
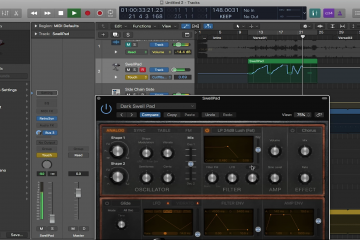
Once you press Create, 3 things should appear: the new track, a MIDI clip on that track, and the drummer plugin. The MIDI clip will already have a default drum loop based on the genre you have selected. When you change parameters in the plugin, the MIDI notes will automatically change as well.
Virtual Drummer Parameters
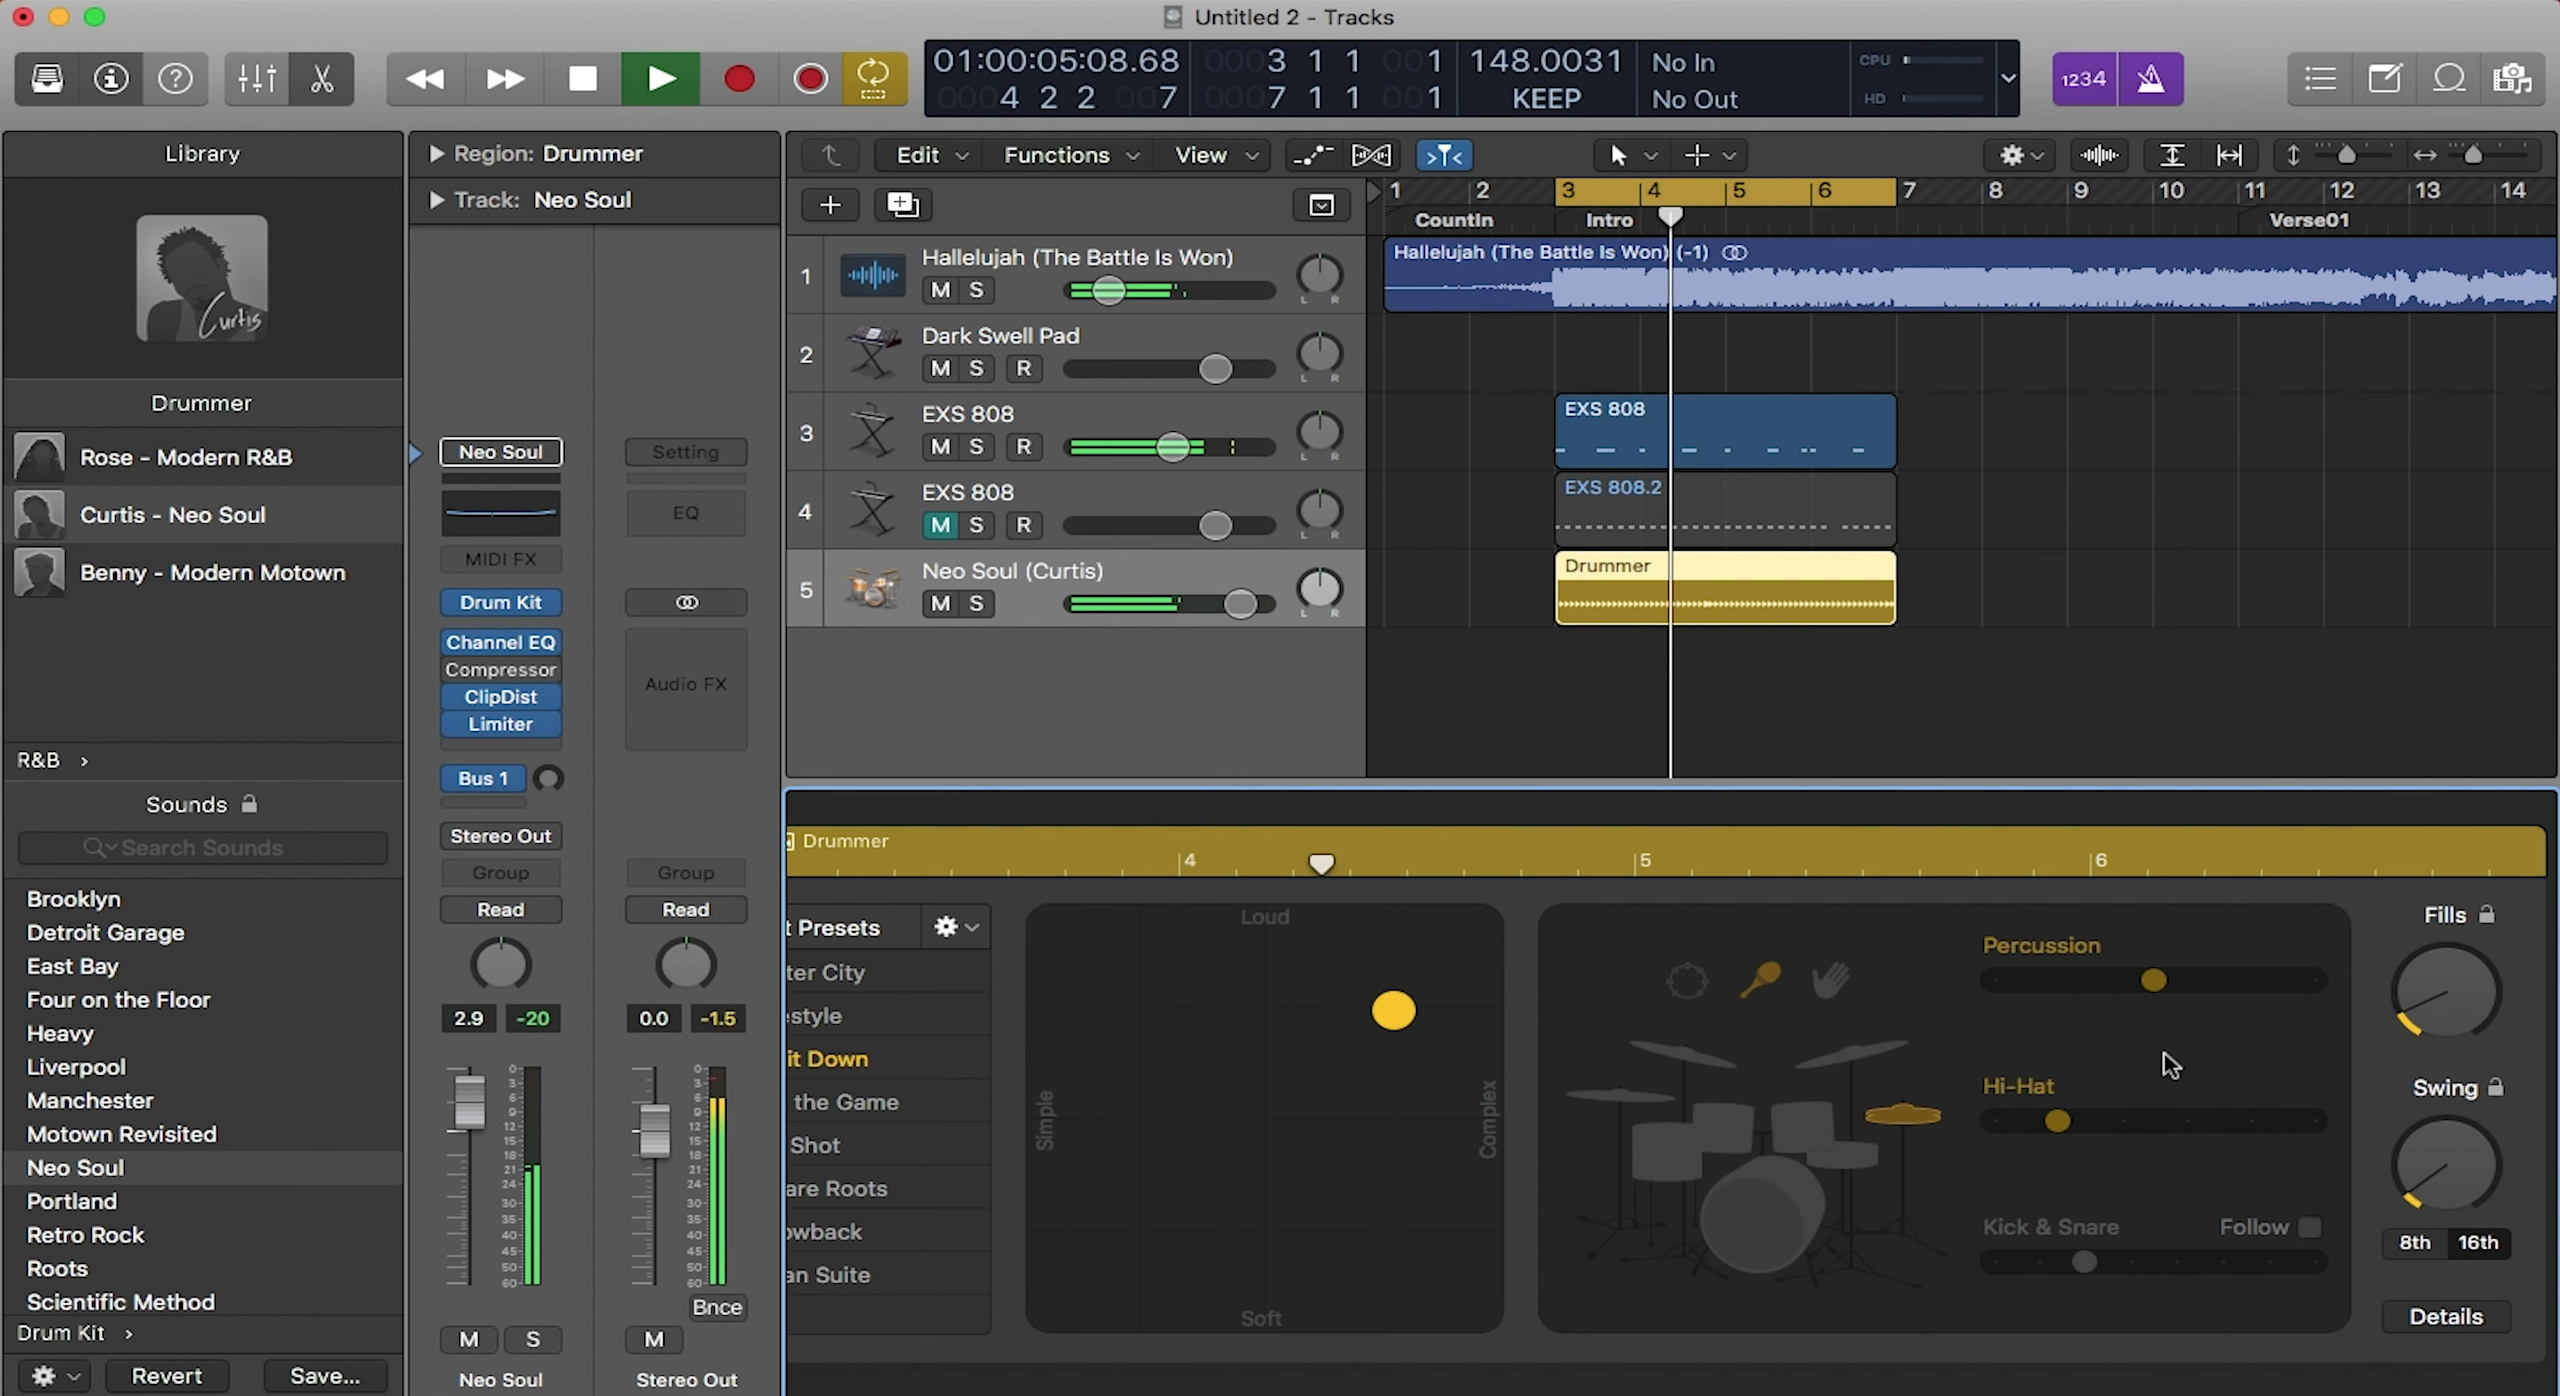
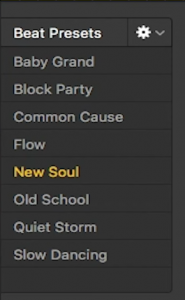
Now the drummer plugin may be confusing at first, so let’s break it down section by section. The first section on the left is a list of presets. If you select one of the presets, the plugin will set its parameters to specific settings. These are great if you want a quick and easy way to create a track.
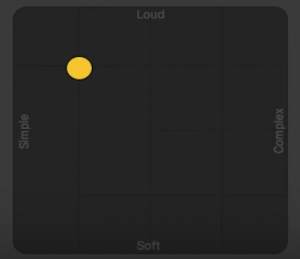
To the right of this section is an x/y axis. The x-axis represents how complex you want the drummer to play, while the y-axis represents how loud you want the drummer to play. You can move the destination point freely within this square to change how the drummer plays. For example, if you want the drummer to play really loud and complex, move the destination point in the top right.
The next section in the plugin shows a picture of a drum set with certain drum instruments highlighted. All of the highlighted drum instruments are what the drummer is using to play the beat. You can toggle the specific instruments on and off by clicking on them. Within this same section are 3 sliders labeled “Percussion”, “Hi-Hat” and “Kick & Snare”. The sliders allow you to change the duration of each instrument. If you want a short hi-hat hit, drag the hi-hat slider to the left. If you want a longer hi-hat hit, drag its slider to the right.

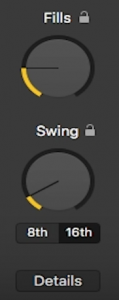
The last section on the right has two knobs. The top knob is for fills. If you want your drummer to play lots of fills, simply turn the knob all the way up. If your song needs simple fills or no fills at all, turn the knob down. The same concept goes for the lower knob but with swing. If you want your drummer to swing the beat a lot, turn it all the way up. If you want your drummer to play with no swing or little swing, turn the knob down.
It’s that easy to create a solid drum sound in Logic. Feel free to change around the parameters as much as you like. There are so many different combinations at your disposal. Stay tuned for next week when we dive into Bass and Lead sounds in Logic!
0 Comments