Producing a Bass and Lead in Logic Pro
Bass and lead instruments are very important in a song. The bass provides a backbone for the song by filling out the low frequencies, as well as usually playing the root of a chord. Lead instruments usually contain the melody and are ear-catching to listeners. In this post, we’ll take a look at plugins in Logic so that you can create bass and leads for your own tracks.
Adding the Retro Synth
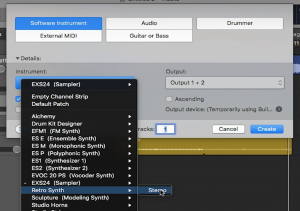
The synth plugin we are going to look into is the Retro Synth. To insert an instance of the Retro Synth into our session, click on the add track button or “+” button. A pop-up window should appear. Now, select “Software Instrument”, and under “Instrument:”, select “Retro Synth”. Also make sure that “Open Library” is checked. Once all of those things are set, click “Create” and Retro Synth will now be in your session.
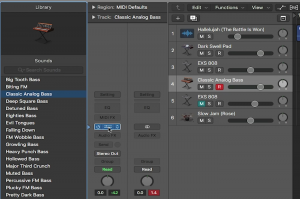
Once you click create, you should notice a couple of things change in your session. First, there will be a new track with no MIDI clips in it. This is the track that your new plugin is in. If you look in the Inspector bar while your new track is selected, you will see a blue box that reads “Retrosyn”. Now if you hover your mouse over that blue box, you will notice it is divided up into 3 sections. The left section turns the plugin on and off, the middle section opens up the plugin, and the right section opens up a menu with other plugins so that you can replace the current one.
If you selected “Open Library” while creating the plugin, the library window should be opened with different presets from the newly created plugin. For producers who want to find a sound quickly or have a starting point before tweaking plugin parameters, the library will be very useful.
Retro Synth Overview
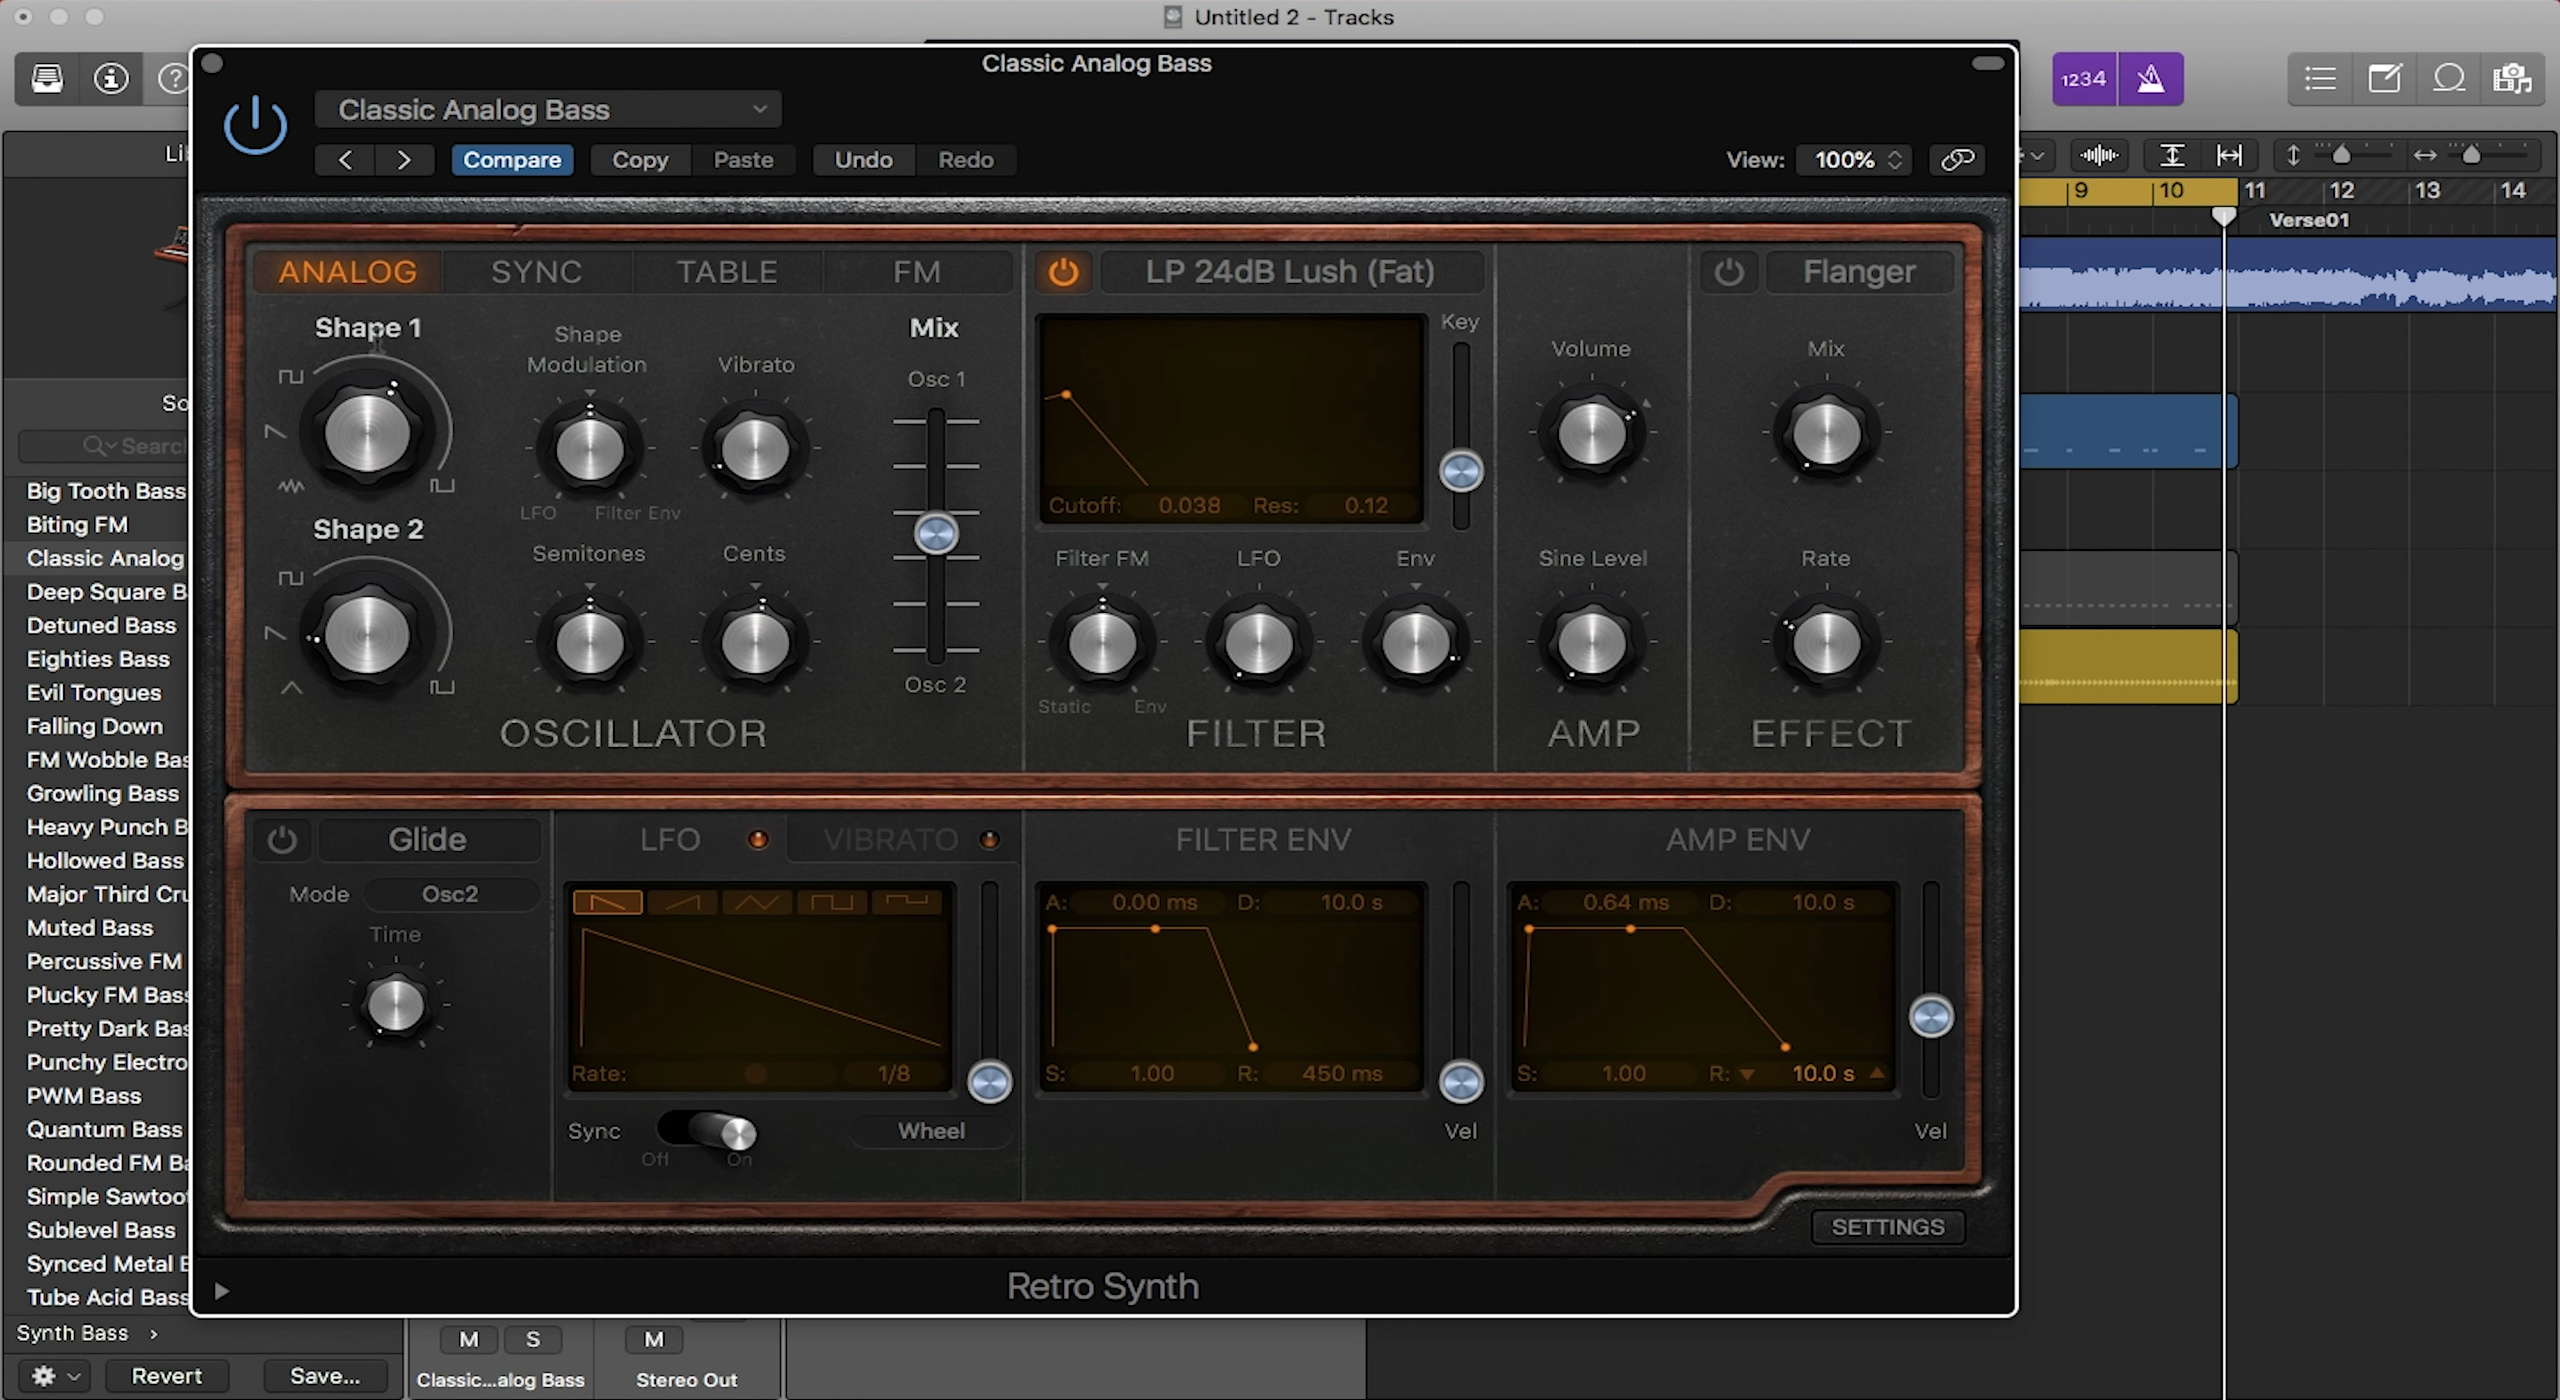
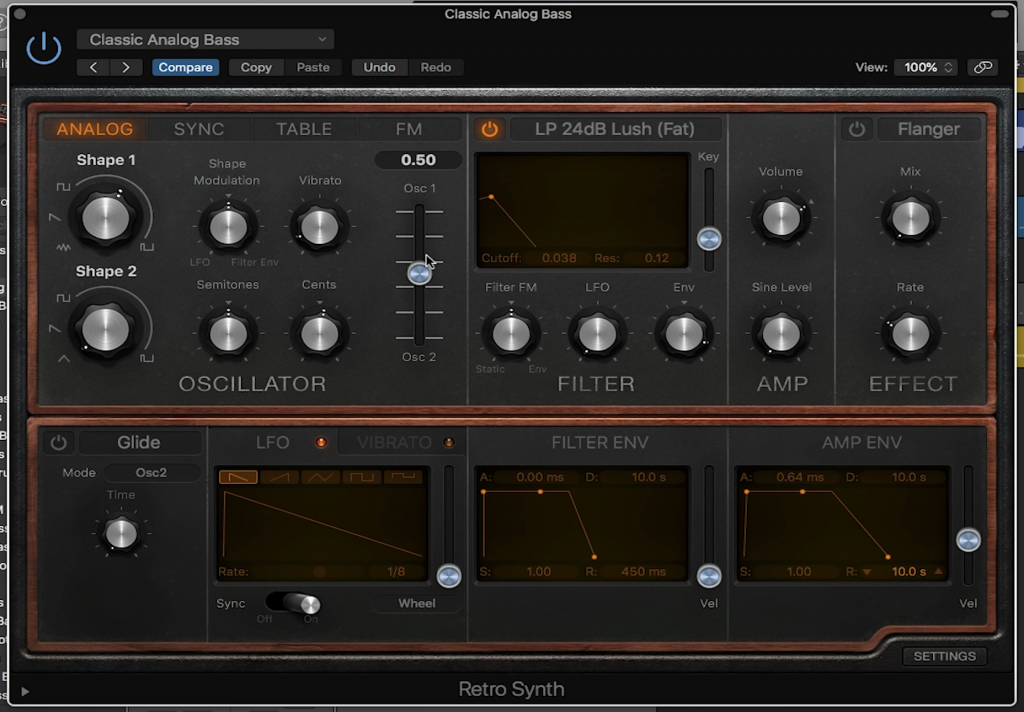
The retro synth is a popular plugin in Logic that is great for creating bass and lead parts. It is a classic analog synth that uses different waves to form its sounds. It is actually four synths in one as the plugin has tabs at the top that you can toggle through to change the synths. The retro synth’s interface is basic enough for new producers to get a feel for things, but also intricate enough for veteran producers to still get the sound they want.
Plugin Parameters
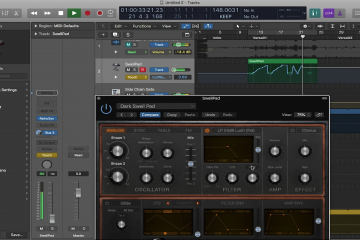
At first the interface of Retro Synth can seem confusing, but when you break it down into sections, it’s not as bad. The bottom half of the plugin is mainly envelopes. These envelopes change the attack, decay, sustain and release of the sound. The top right section contains knobs that change the wave shape of the sound. These can range from square, sine, sawtooth, and triangle. Each wave shape has its own unique sound, and Retro Synth gives you a lot of flexibility when it comes to tweaking and combining these sounds. The rest of the sections are pretty straightforward. There is a glide section where you can control the length of time it takes the sound to glide up to the right note. There is also a flanger/chorus section that creates movement within the sound or spreads the sound out within the sound field.
Quantize while Recording
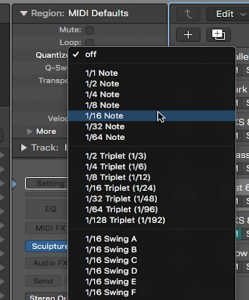
When recording midi in Logic, a great feature to know about is the Quantize while Recording feature. In past blog installments, it has been mentioned that you can quantize already created midi notes. What Quantize while Recording does, is basically that. It quantizes your midi recording as you are recording it. To toggle on this feature, open the Inspector and look for “Quantize” under the Region section. Here you can select different quantization timings from every whole note to every 64th note. There are even options for triplets and swing. Again, Quantize while Recording is a great tool for producers who want to speed up and make their production process a little easier.
And that’s how you produce a Lead and Bass in Logic Pro! Stay tuned next installment as we look into Track Stacks and side-chain compression.
0 Comments