Controlling Line 6 Helix with Looptimus
With the Looptimus Foot Controller, you can send Program Changes to your guitar pedals to easily trigger your presets. You can also have them sync with your tracks in the Prime App. With the simple press of a Looptimus button, you can start your song in Prime and have the preset on your pedalboard change with it. Let’s take a look and see how to set this up with a Line 6 Helix.
Device Connections
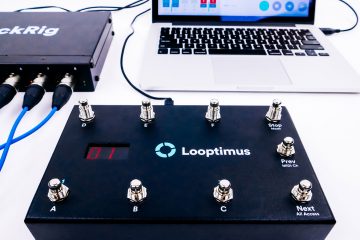
The first thing we’ll need to do is connect the devices together. Connect your Looptimus to a device running Prime via USB, then connect your Line 6 Helix to your Looptimus with a 5-pin MIDI cable. This setup will provide the correct flow for triggering your presets with Looptimus.
Helix Set Up
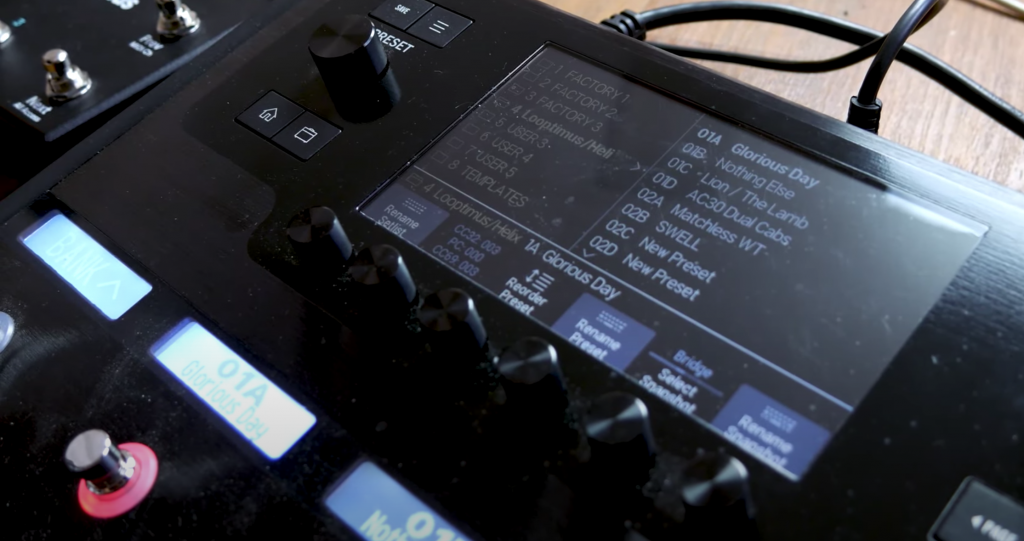
Next, you’ll want to view your presets in your Helix and take a look at each of their program change numbers. You can do this by opening your presets menu and scrolling through each one. The Program Change number can be read at the bottom left of the screen. Take note of these numbers.
Looptimus Set Up
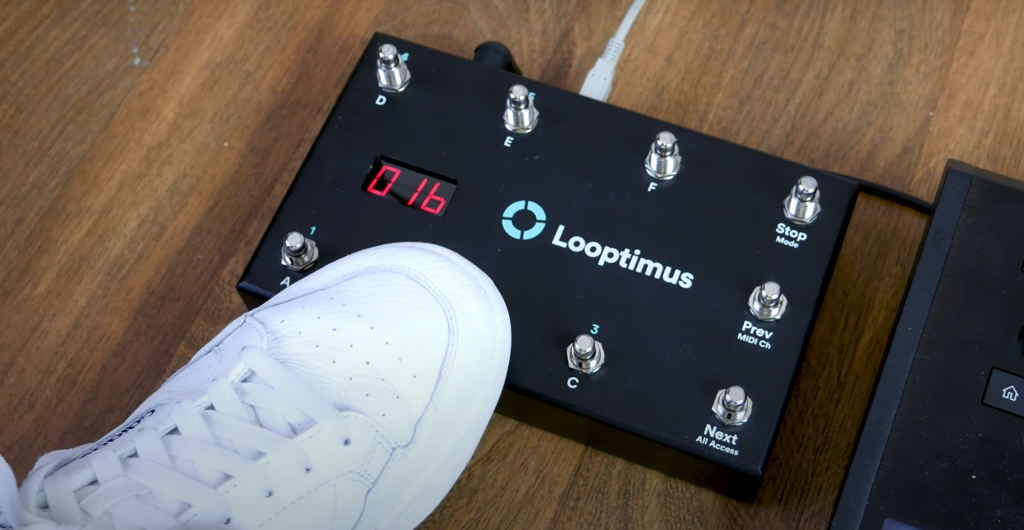
Now we’ll need to change your Looptimus to be in Program Change mode. Follow the steps below to do so:
- Hold down the Stop button for three seconds.
- Use the Next and Previous buttons to toggle modes until the screen reads PC.
- Press the Stop button again to enter PC (Program Change) mode.
By default, Looptimus will assign its first button (1A) Program Change 00 and continue this trend upwards. This means button two will be linked to PC 01 and so on. You can check this by holding down a button, and after a few seconds it will display its program change number.
If you want to change the Program Change number a button is sending, press and hold a button, then use the Next and Previous buttons to toggle through the list of numbers.
After you have your Program Changes configured, Looptimus and Helix are now set up! When you press a button on the Looptimus, you should see your Helix preset change with it.
Prime Set Up
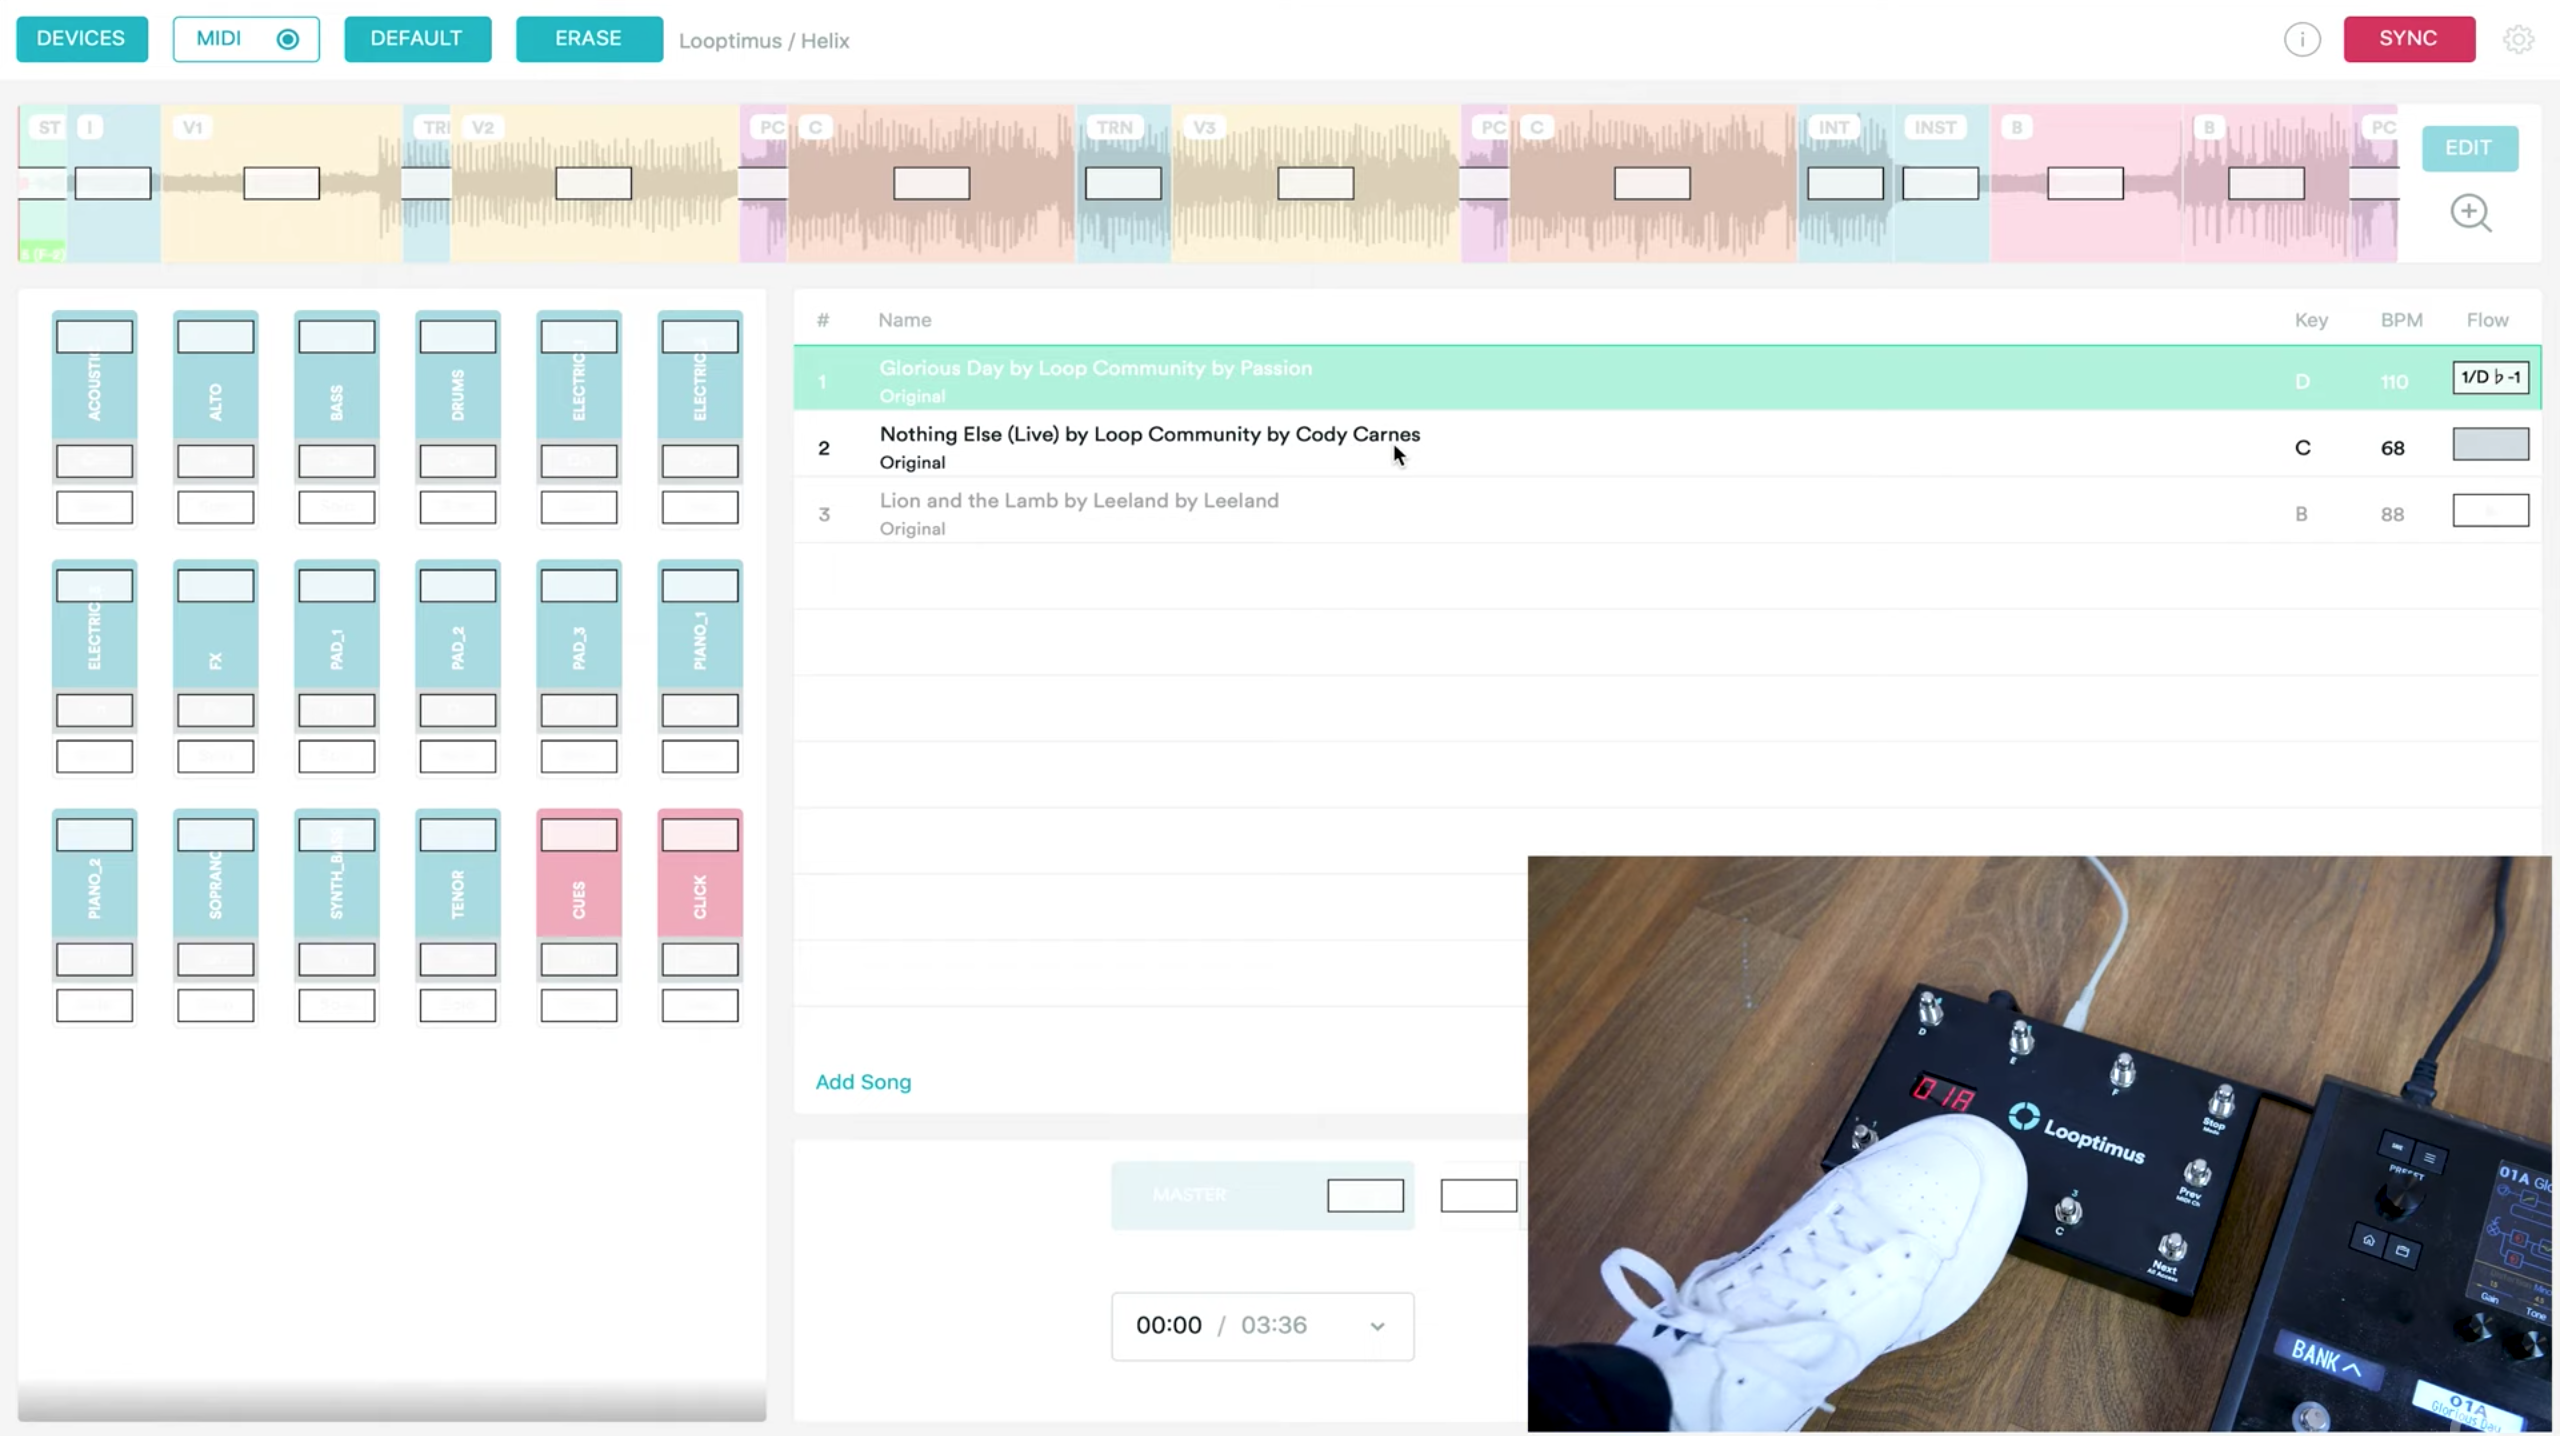
All that’s left to configure is Prime. Simply MIDI map each song in Prime, to the desired Looptimus button/Helix preset. Here’s how to map buttons to your Looptimus:
- Press MIDI in the top left corner.
- Select the desired button in Prime you want to map.
- Press the Looptimus button you want to map it to.
- Repeat for all desired buttons.
- Press MIDI to when done mapping.
And you’re all set! When you press the desired button on Looptimus, it will trigger the song as well as the Program Change for that song. Using the Looptimus to control your Line 6 Helix is simple and easy. Visit Looptimus.com, to purchase a Looptimus today.
0 Comments