How to Export Your Tracks in Logic Pro (Advanced)
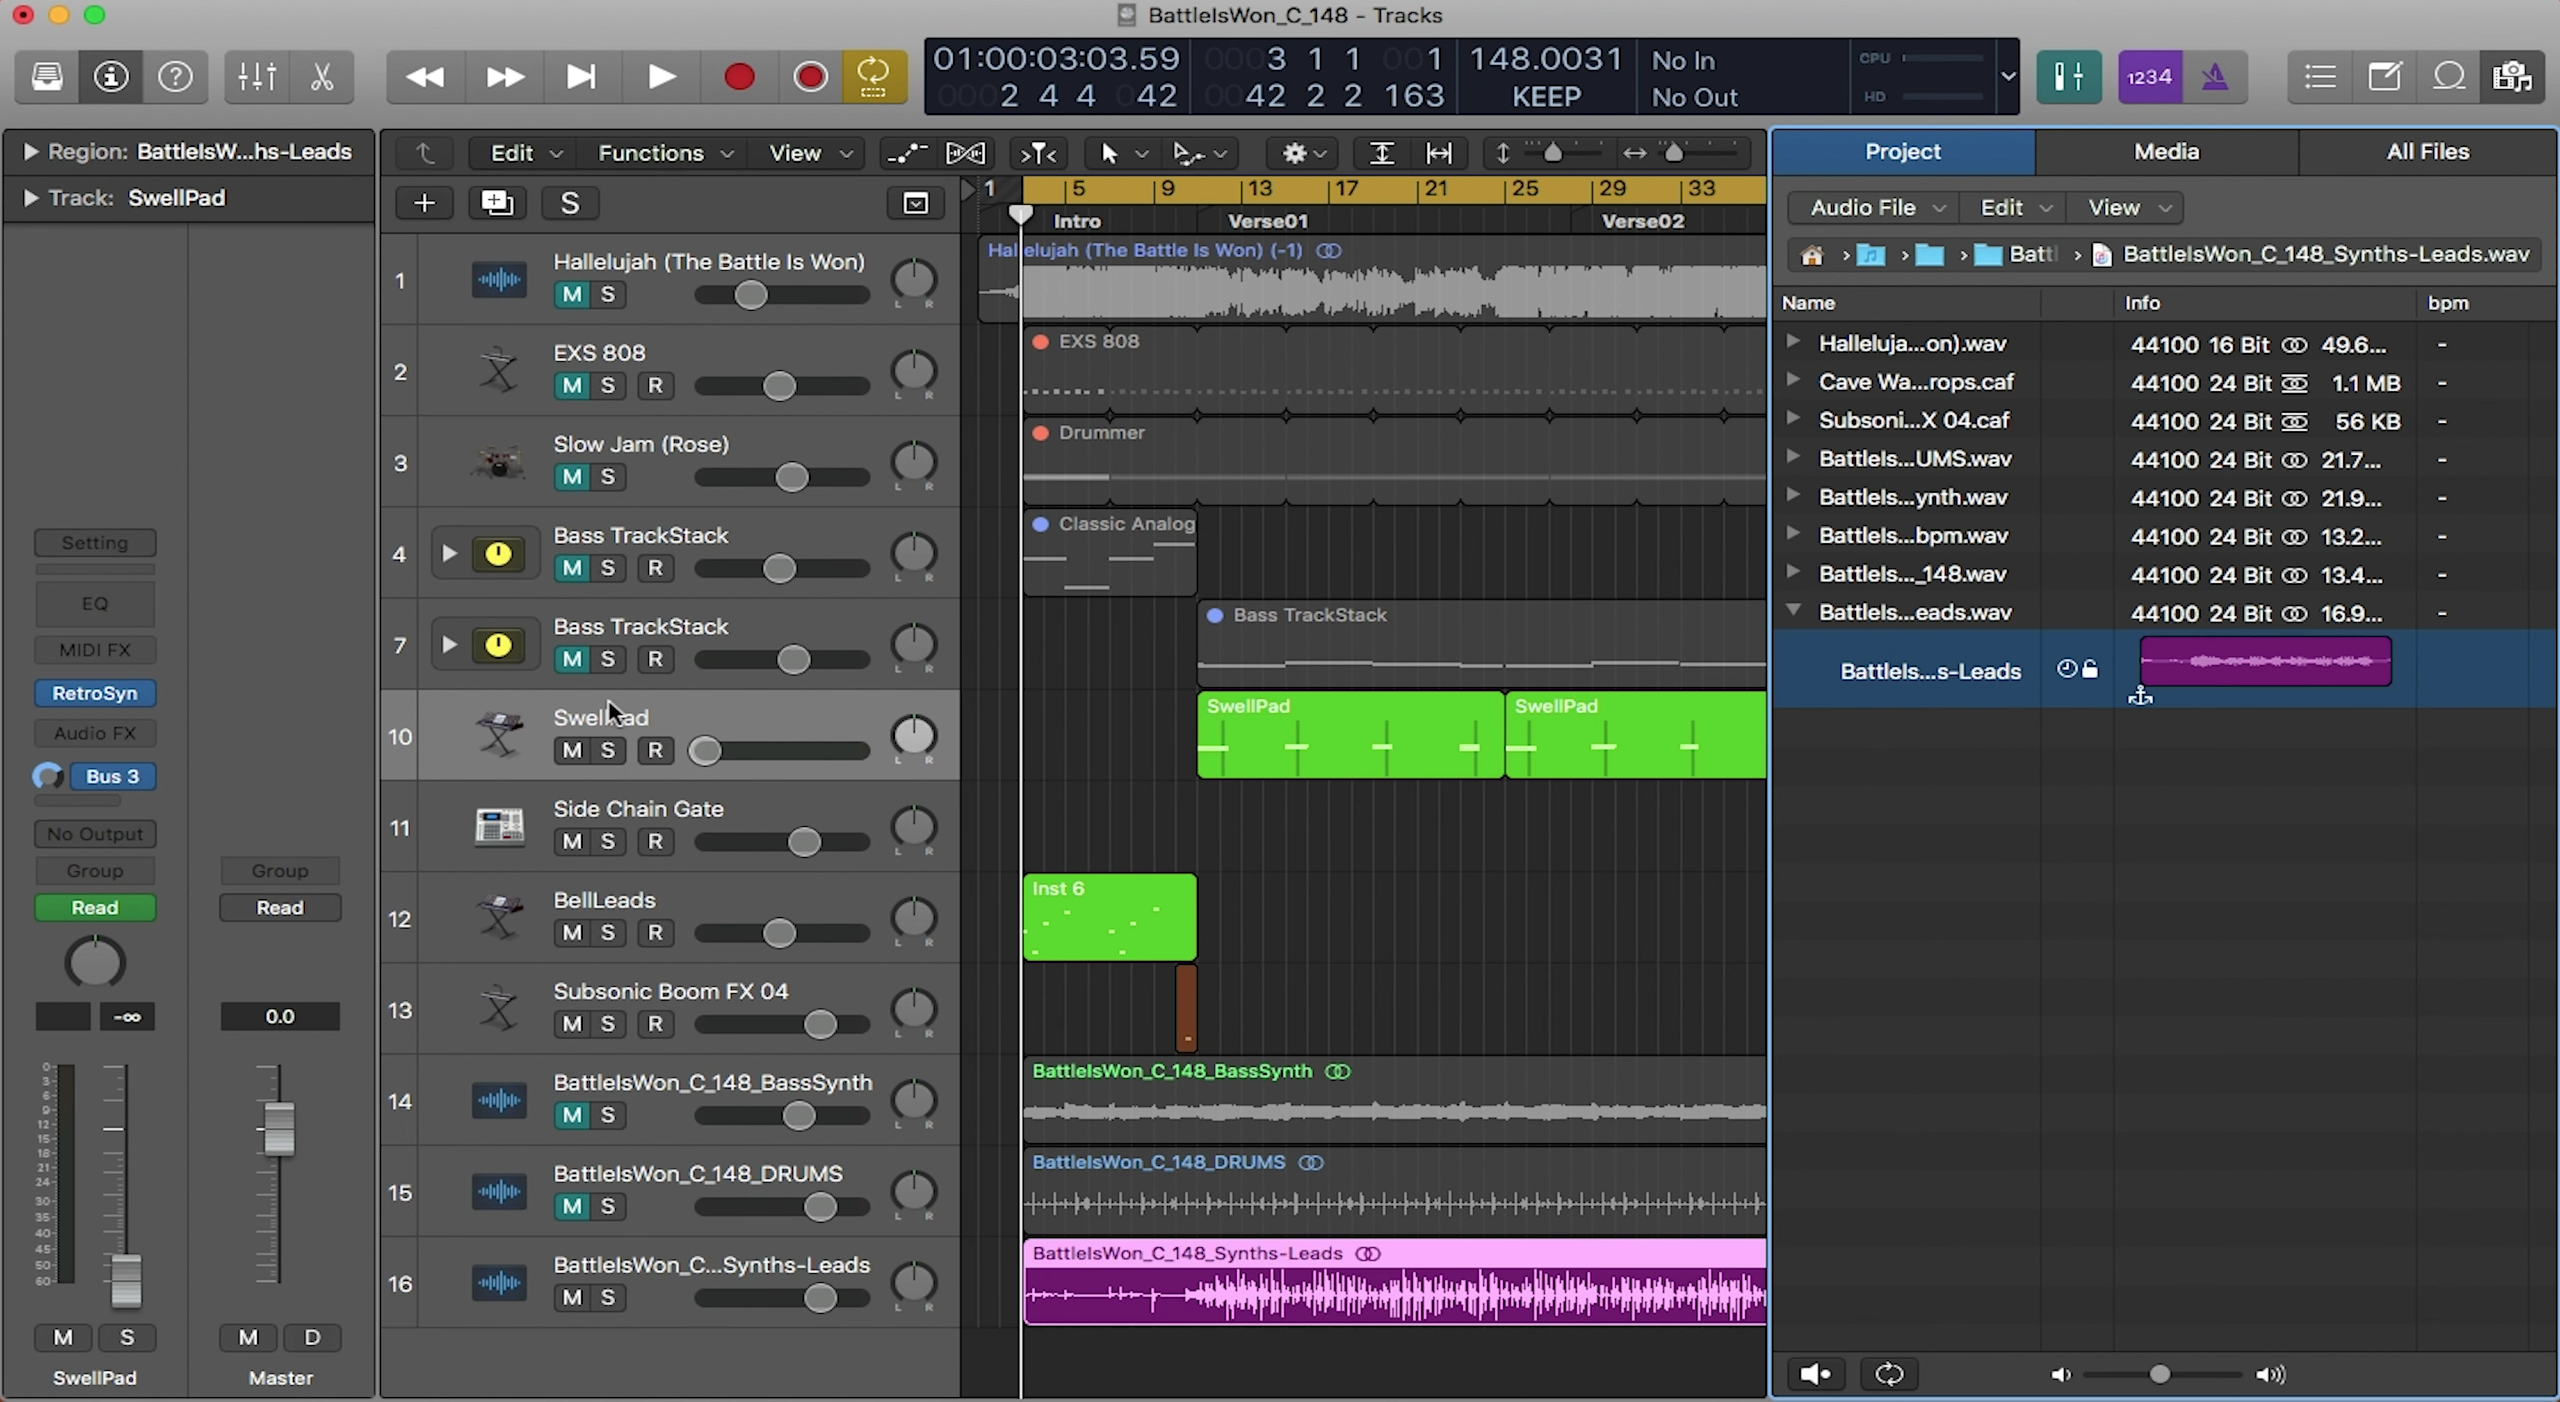
The final step in the music production process is to export your tracks! You will want to export your tracks so that you can use them in Prime, MainStage, or any other DAW of your choice. In the Intro to Logic blog series, we also touched on exporting your tracks. To read up on that blog, click here.
Grouping Tracks
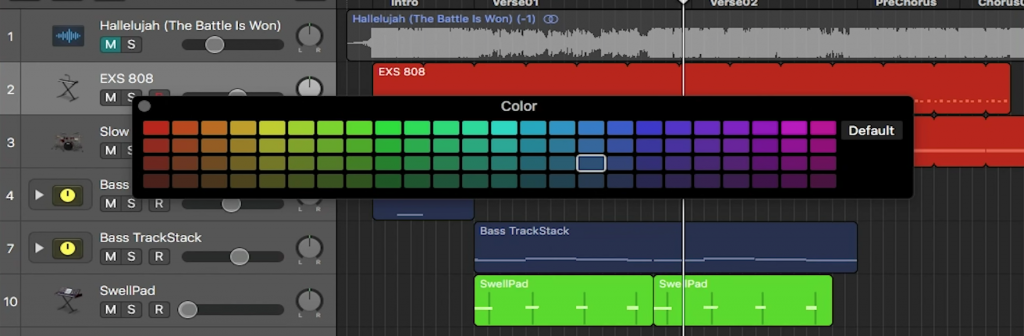
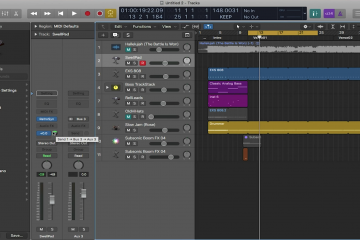
Now when exporting your tracks, it is a good idea to group similar tracks together, especially if you are planning to bounce multiple tracks as one stem. An example of this is if you have multiple background vocal tracks and want to export them out as one file. To group them together, you can simply drag them next to each other in the main window by clicking and dragging on their name sections on the right. You can also color groups the same color by highlighting the tracks, then pressing “Option C”.
Cycle Region
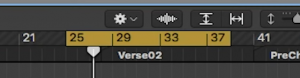
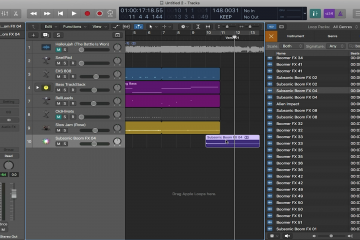
To export your tracks, you will also need to use the cycle region. The cycle region is the yellow bar at the top of the main window. It is used to loop sections of tracks during playback as well as designating the section of the track you want to export. To toggle the cycle region, press C. You can click and drag the edges to make the region shorter or longer. You can also click and drag the middle of the region to move it altogether.
Bouncing/Exporting
In Logic, there are two ways to bounce/export a track. You can bounce in place, which will keep the file in your session, or you can export files and save them to your computer. Let’s take a look at both of these options.
Bounce in Place
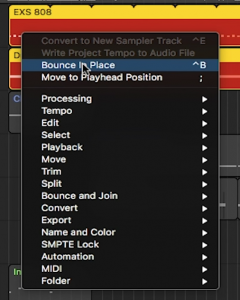
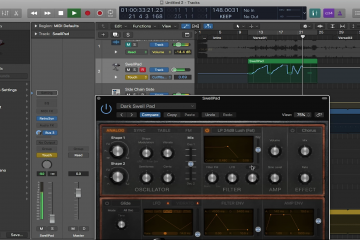
When bouncing a track in place, it will bounce your selection, but instantly import it into your session. Bouncing in place is a good option for many reasons. You can use it if you are planning on using the same session to run your tracks. You can use it if you want to listen back as if you exported it. You can also use it if you simply want to use less processing power on your computer. Whichever option you choose, know that the original file will not go away as long as you don’t choose to delete them in the pop-up window, so you can always come back to it to make changes. To bounce a track in place, right-click on the track or clip, and select bounce in place. If you want to bounce in place multiple tracks together, highlight them all and use the cycle region when bouncing. Also note that if you have any stems routed to auxiliary tracks that you include them when bouncing as well.
Bounce Project or Section
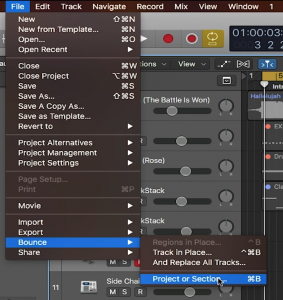
The more traditional way to export your tracks is to simply export them out of your session. This option is more suited if you want to use your stems in a different DAW or if you want to export your tracks as one file. To export tracks out of the session, click File, Bounce, Project or Section.
And that’s the end of the Logic Production Tutorial Series. We hope you learned from this series and are now on your way to producing your own tracks! Thanks for being a part of the community!
0 Comments