How to Create a Custom Split Track
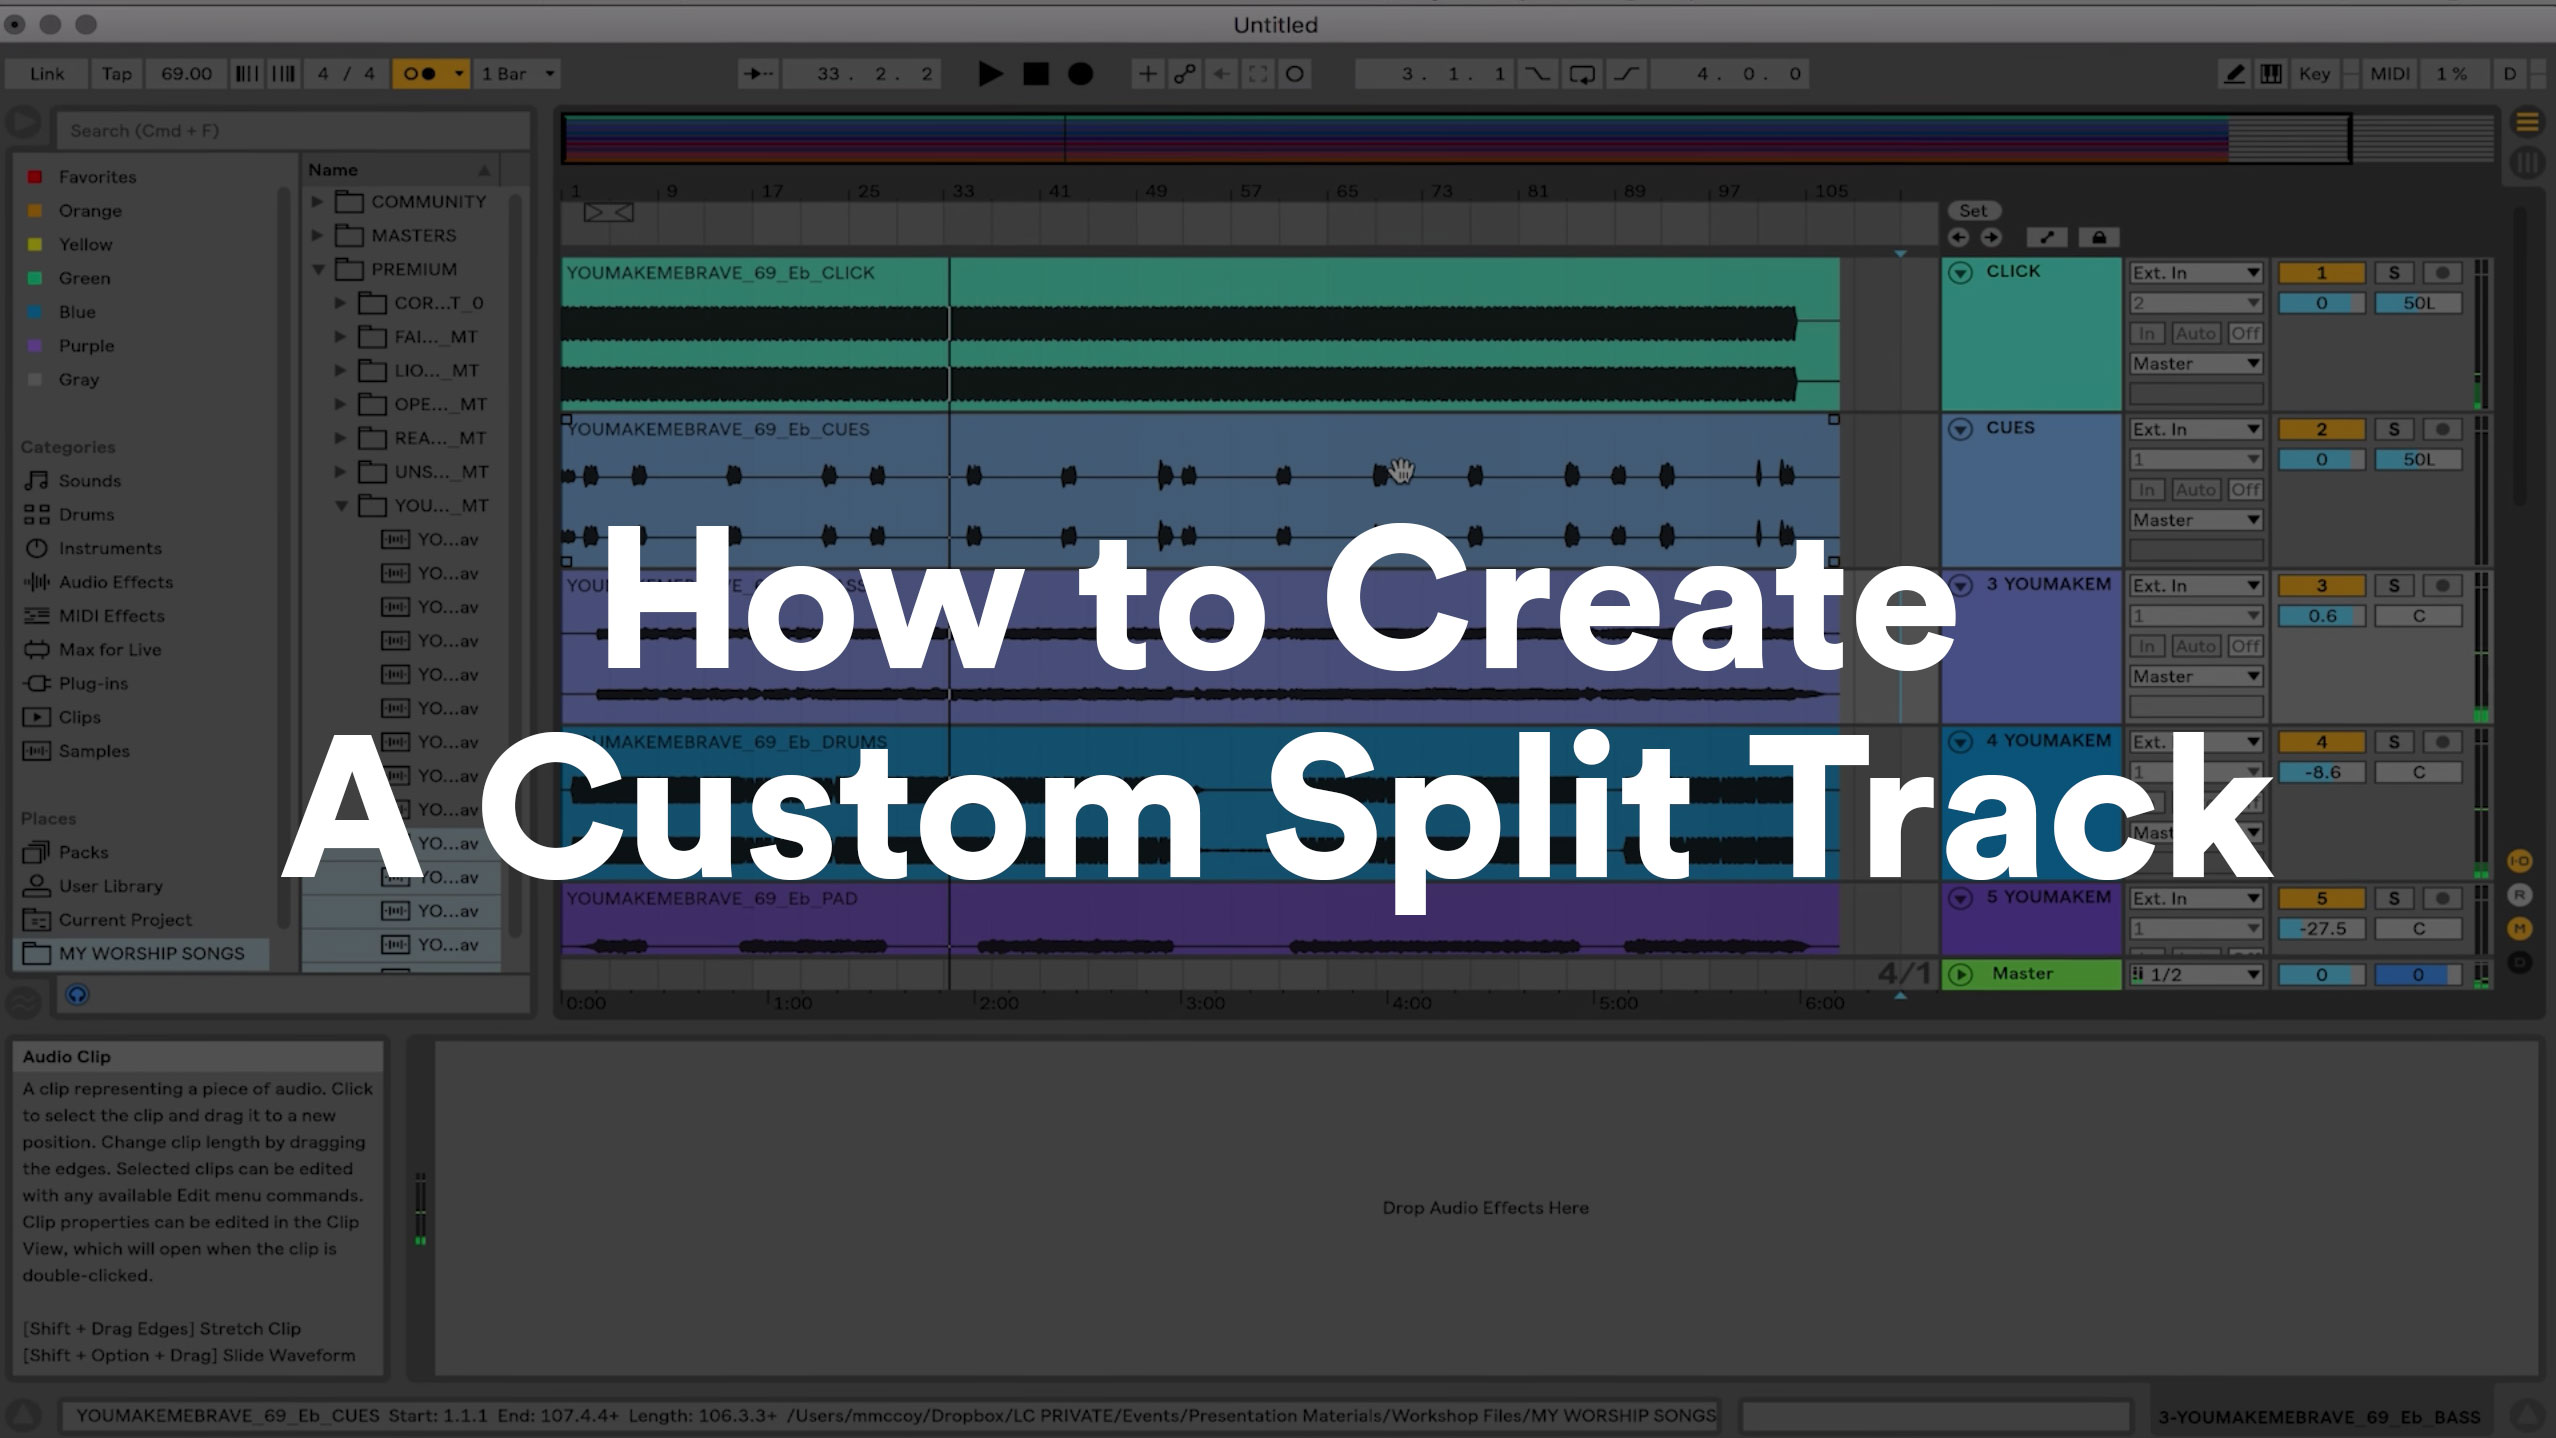
A split track is a stereo audio track where one channel (left or right) has something that the other doesn’t. The split tracks we are going to be talking about will have the click and cues only on the left channel. This allows you to send all of the instruments to your front of house and keep the click and cues in your in-ear monitors.
Worship leaders may want to create custom split tracks for band rehearsals, practice tracks to send to their team members, or even for videos at church.
Import Your Tracks
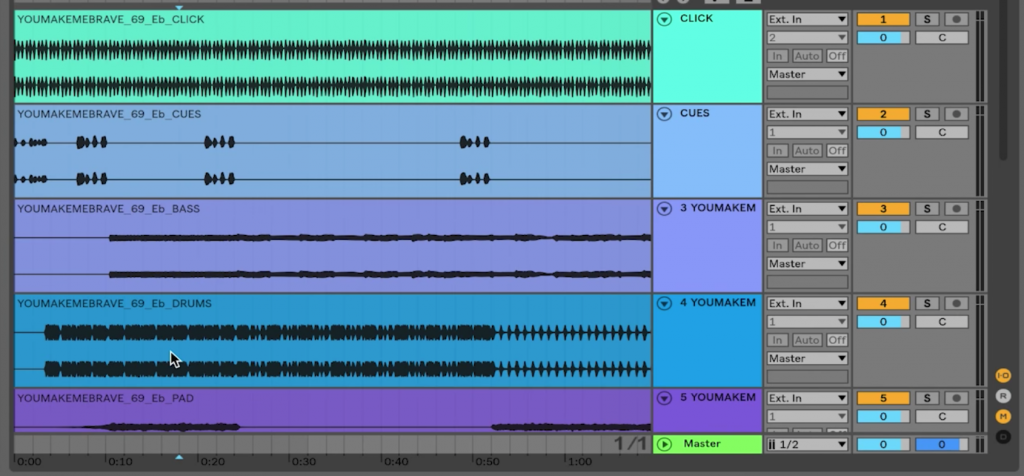
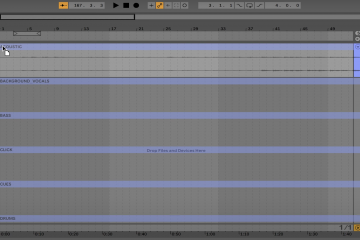
To create a custom click in Ableton, enter Arrangement View and under Places on the left of Ableton, locate the MultiTracks you want to customize. You can find thousands of tracks at LoopCommunity.com for worship. Drag your tracks into the timeline. To keep things organized, import the click and cues first, followed by the rest of the tracks.
Sync Your Tracks to the Grid
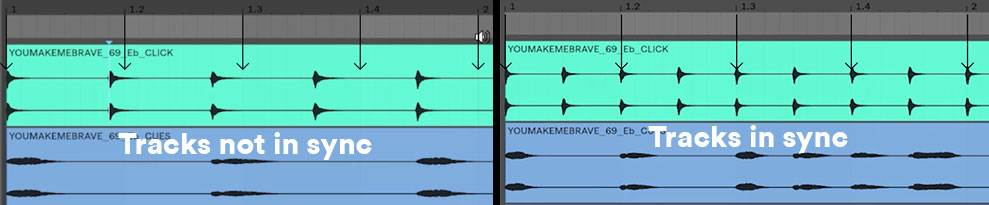
You’re also going to want to make sure your tracks are lined up to the grid in Ableton. You can do this by entering the BPM of the tracks into the top toolbar. You can double check this by turning on the metronome and playing back the tracks. The metronome should be in time with your tracks.
Set Your Volume Levels
Next, enter Session View to open the mixer and set the volume levels to your liking. To raise or lower the volume of each track, simply slide the triangle next to each track up or down. If you are creating a practice track for your bass player, a good idea would be to lower the volume level of all the tracks except for the bass track so they can hear the bass part. You could also create a track without the bass track so they can play along and fill in the gap.

Pan the Click and Cues
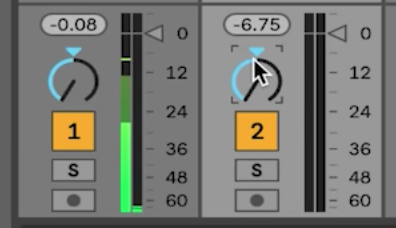
After your levels are set, pan the click and cues to the left. On the left side of each track’s volume meter is a dial. This dial controls the panning of a track. To make the click and cues come out hard left, move the dials all the way to the left. You can also pan the audio of your tracks to the right if you want to completely separate them from the click and cues, otherwise you can leave them panned to both channels.
Export Your Split Track
You are now ready to export your split track! Go back into Arrangement View and hit “Command + A” to select all the tracks in the session. Click on file in the top toolbar, then Export Audio. A pop-up window should appear. Make sure that next to “Rendered Track”, you have “Master” selected. This will ensure that you are exporting all the tracks on one individual file. Select where to save your custom split track and you’re all set.
Send your split track to your band members so they can get ready for Sunday!

0 Comments