How to Import Tracks in Ableton Live
Do you use Ableton Live to run your tracks in worship? If you’re just getting started, there are a few things you need to know about importing your tracks so they work correctly. Let’s take a look at how to import tracks from Loop Community into Ableton Live.
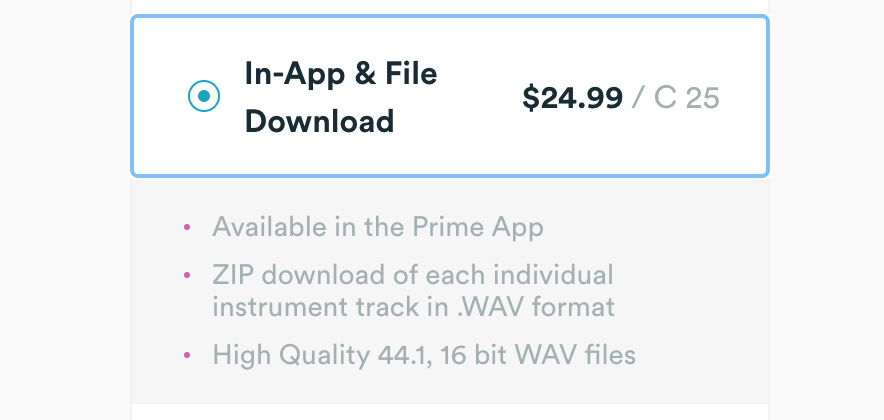
In order to use tracks from Loop Community in Ableton, you will need to purchase the File Download version of a track. The File Download version gives you high quality wav files of each individual instrument at 44.1 kHz in 16 bit. You will also receive the Prime In-App version with your purchase.
The first thing to do after you purchase your tracks, is download them from Loop Community to your computer. To do this, follow these quick and easy steps:
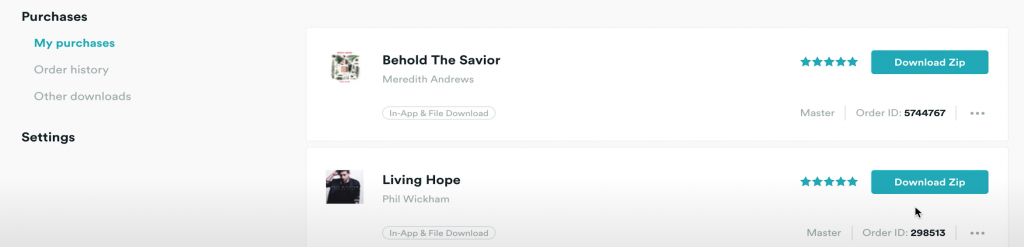
1. On LoopComunity.com, click on your profile icon in the top right corner. 2. Click on “Purchases”. 3.This page will show you a list of all the file downloads you have purchased. Click “Download Zip” on the track you want to import into Ableton Live.
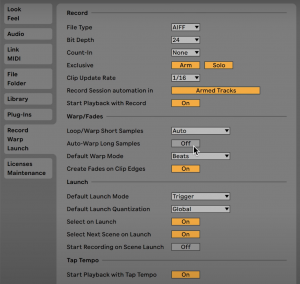
Once you have your tracks downloaded to your computer, open Ableton Live. However before importing, we need to change one thing in Ableton’s settings. Go to “Preferences”, then under the “Record Warp Launch” tab, make sure “Auto-Warp Long Samples” is turned off. This should be turned off so that the files do not warp when you import them.
Next, look on the left side of Ableton and select “Add Folder”. If you do not see this option, click on the triangle in the top left corner of Ableton. This should open the toolbar.
After clicking “Add Folder”, a pop-up window will appear showing your computer files. Navigate to the folder where you tracks are and select it. That folder will then appear in Ableton under Places. Click on that folder in Ableton to display all of the individual tracks in the toolbar.
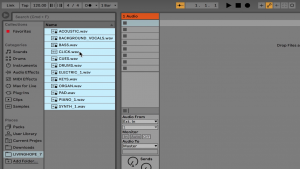
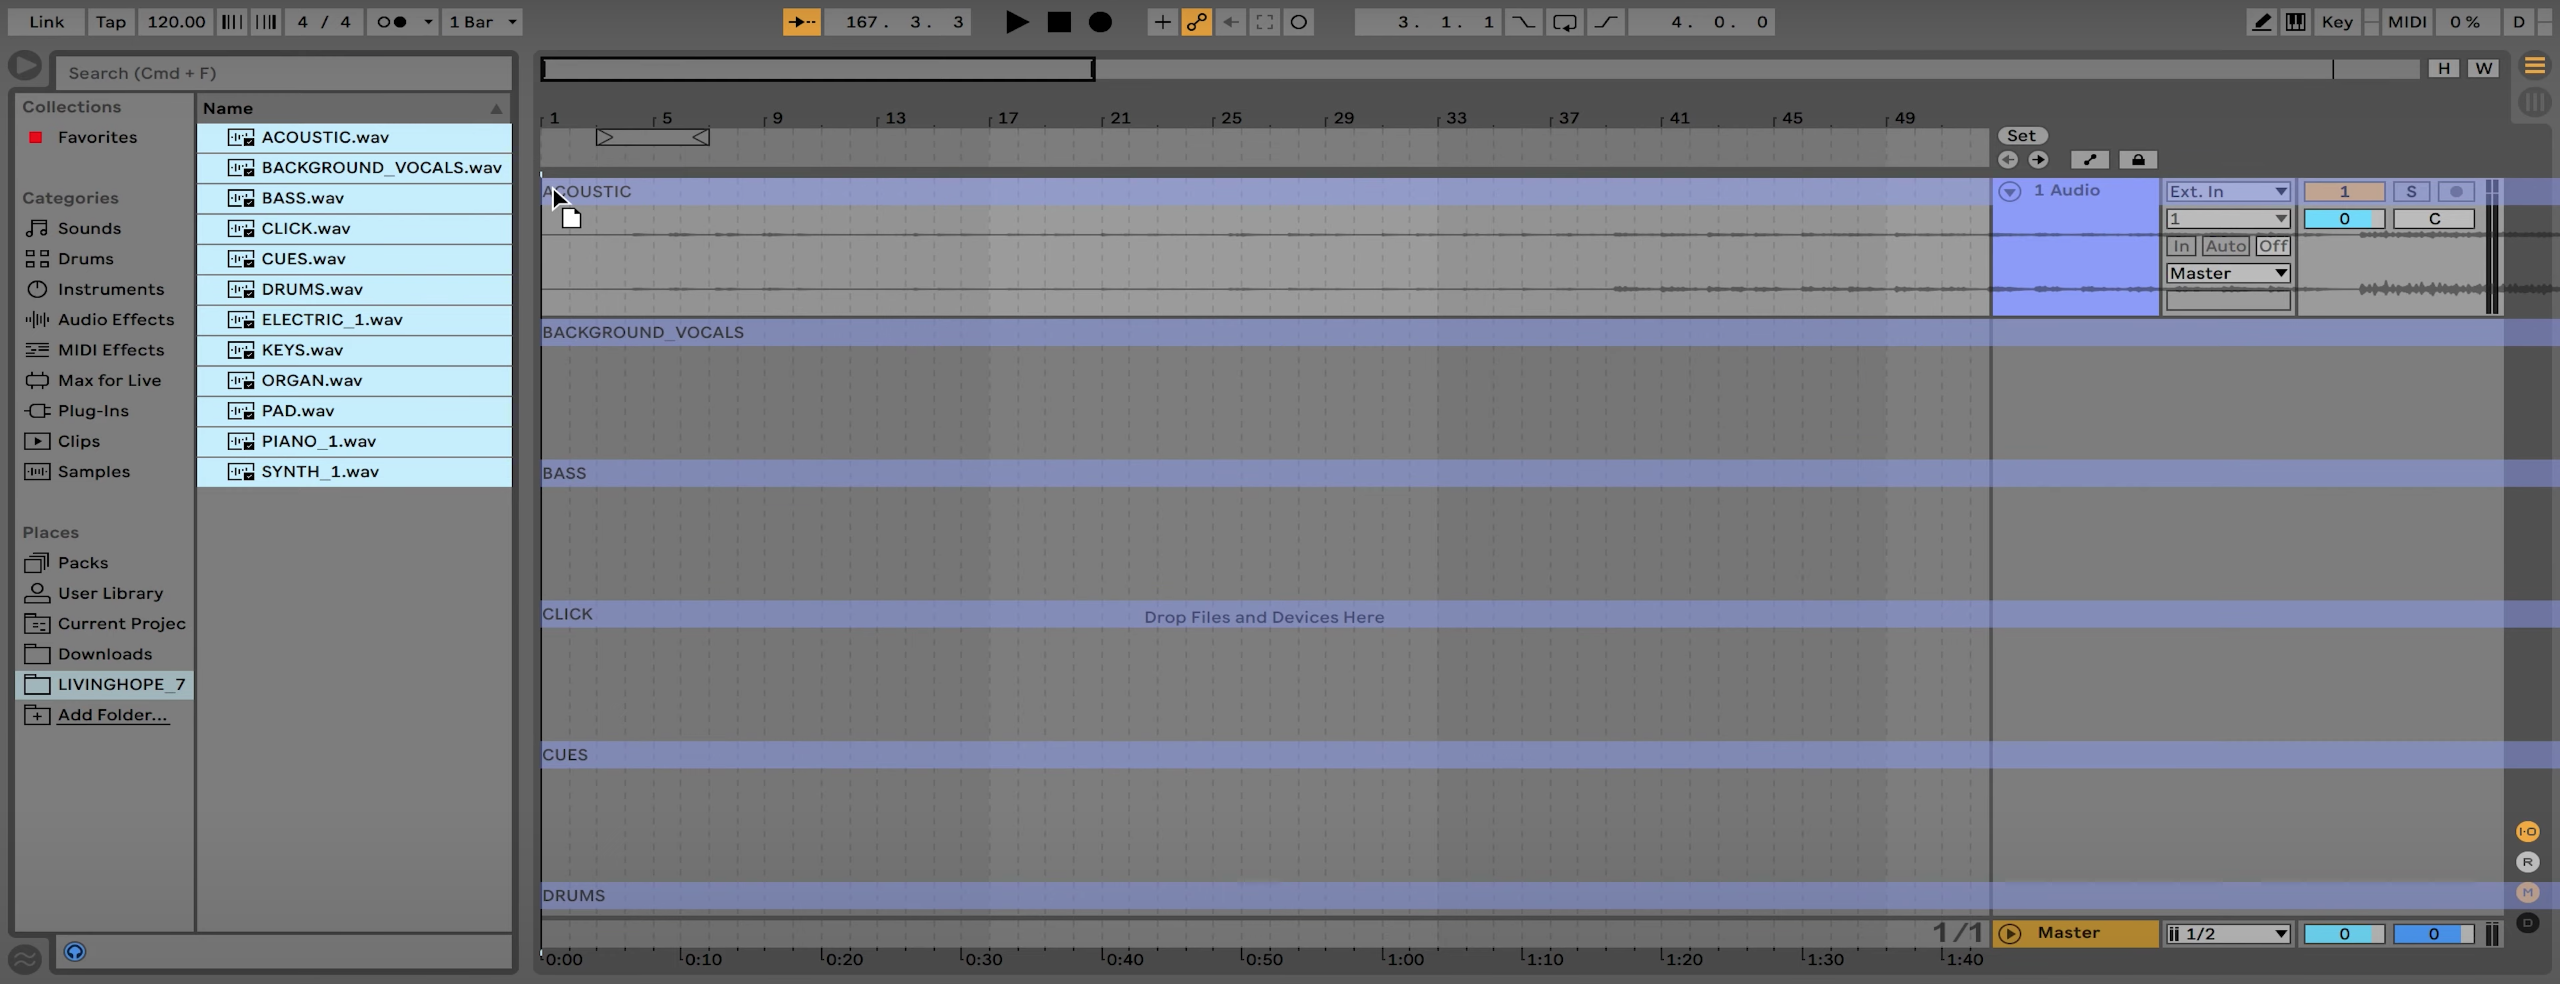
Let’s first import your tracks in Session View. Highlight all of the tracks. You can do this by clicking on the top track, holding shift, then clicking on the bottom track. All of the tracks in between should also be highlighted. If you want to import only some of your tracks, holding down command and clicking on the individual tracks you want may be a better option. Now that the tracks you want are highlighted, click and drag them to the clip in your session. You will want to hold down Command so that the tracks are placed horizontally. That way they are all in the first scene. You can trigger all of these tracks now by clicking the play button on the right side of the row under “Master”.

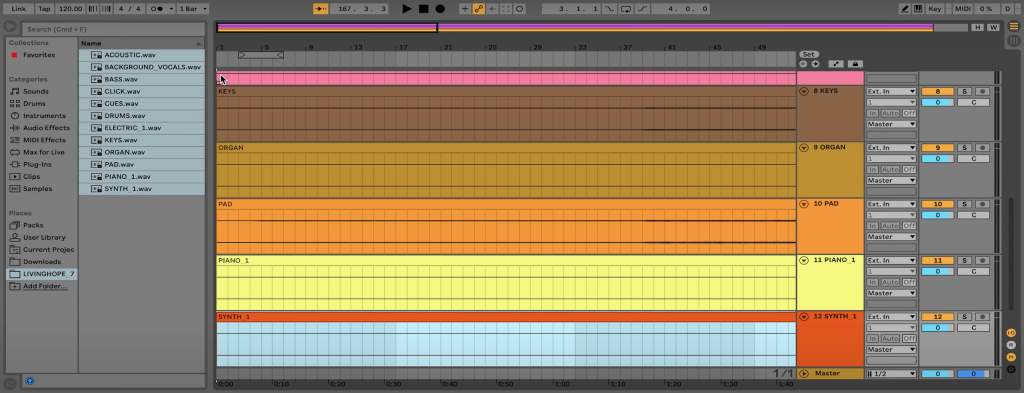
Importing tracks in Arrangement View is very similar. Add an audio track to Ableton if there isn’t one already. You can do so with the shortcut “Command +T”. Highlight the tracks you want just like before, then click and drag them to the audio track while holding down command. This time you want to hold down Command so that the tracks are placed vertically. This will allow them to all play at the same time.
And that’s it! It’s that easy to import your tracks in Ableton Live. Head on over to LoopCommunity.com to get your tracks and get started today!


2 Comments
M · October 8, 2020 at 4:13 pm
Thank you – this was very helpful!
Renan · December 8, 2020 at 7:19 pm
Thank you.. You’ve helped me a lot