How to use Track Rig with Prime
Do you want your sound engineer to have more control of your tracks in Prime?
Using Track Rig with Prime separates your tracks to different channels to give you more control of the mix and a better sound! It’s also easy to setup. Many interfaces require additional software to route your audio. Track Rig is plug and play with no additional software needed.
Connecting Track Rig
Track Rig easily connects to your iPad, iPhone or Mac.
1. Plug in Track Rig’s power supply
2. Use the USB cable to connect it to your device and the USB Host port of Track Rig.
3. If you are using an iPad or iPhone, you will need an Apple Brand Lightning to USB adapter. If you are using a new iPad Pro or new Mac, you will need a USB C to USB adapter.

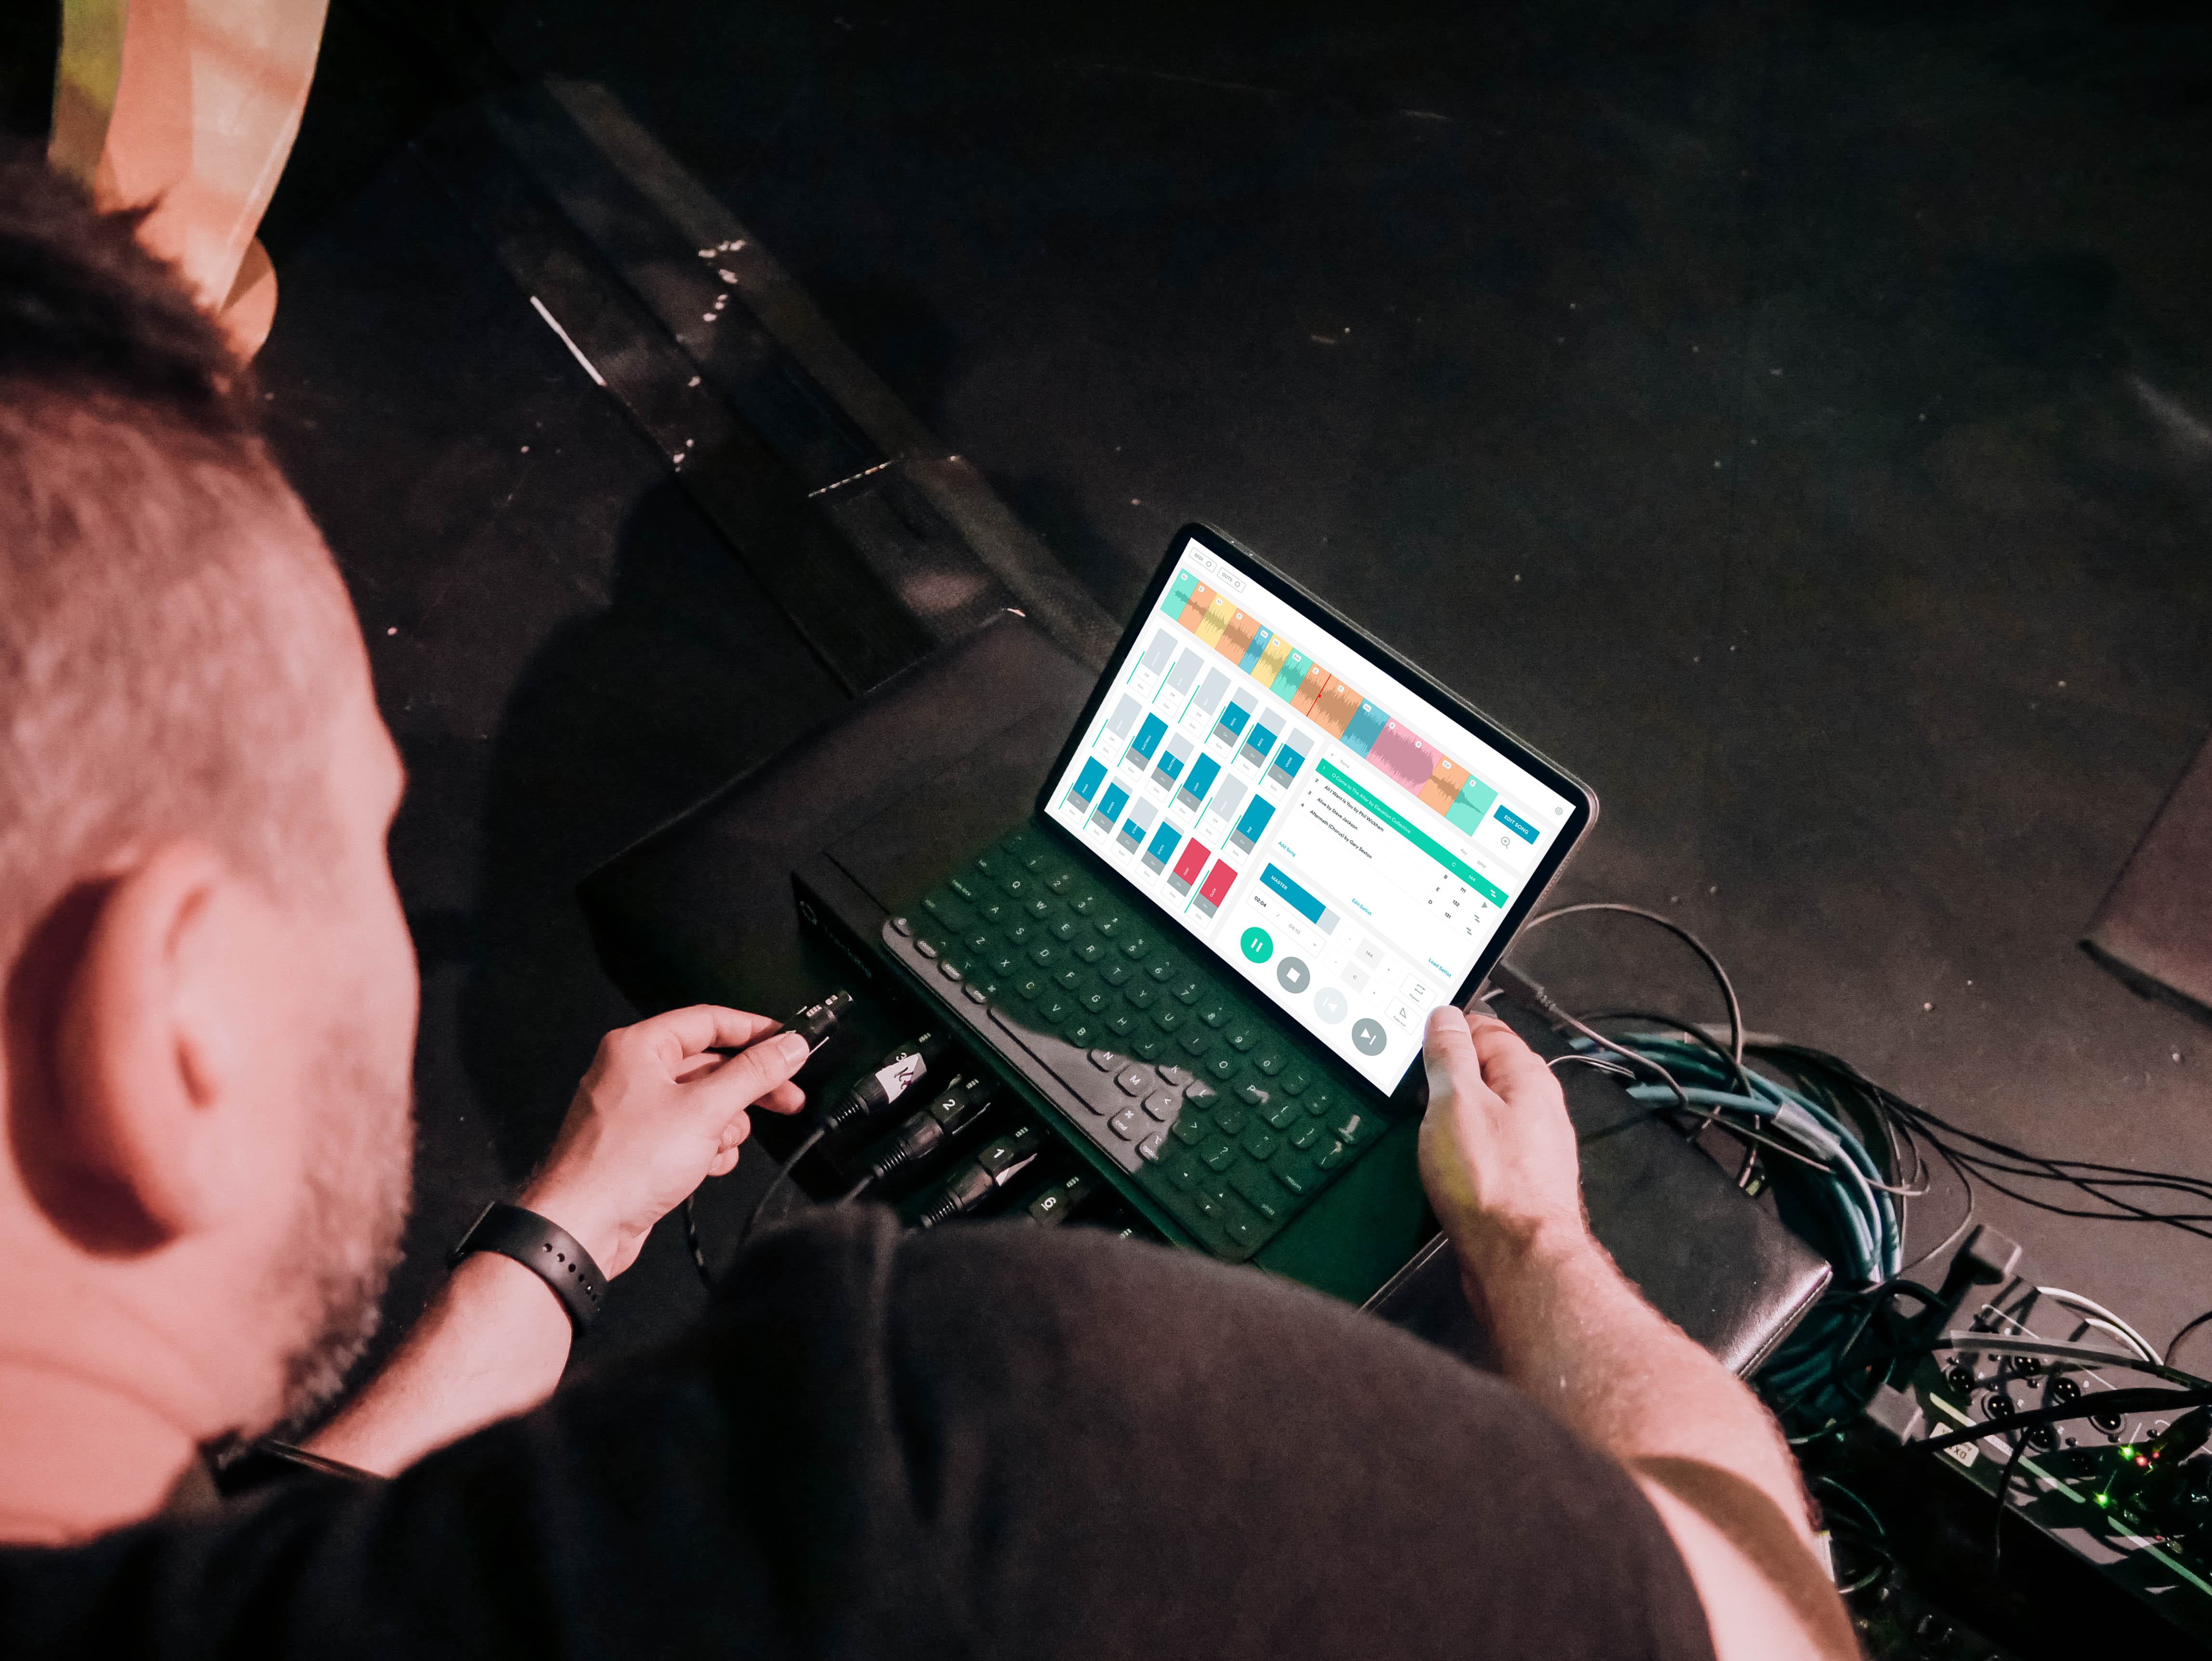
Routing Your Tracks in Prime
Now that your Track Rig is connected, you are ready to choose which tracks will go to what channel. If you are using a Mac, select Devices at the top, and then choose Loop CommunityTrack Rig. You should see the OUTS button light up. If you are using an iPad or iPhone, the OUTS button should automatically light up.

Select the OUTS button. Underneath all of your instrument faders, you will see two buttons. One will read “Mono”, the other will read which channel the track is being sent to. If you want to have your tracks sent Stereo, click the Mono button. Then, select the channel you would like to send each track to by clicking the CH button until it reads the correct channel.
If your song has more than 8 tracks in it that you are going to use, you can send multiple instruments to the same channel Then if you need to adjust the individual instruments in that group, you can adjust the blue faders in the Prime app.
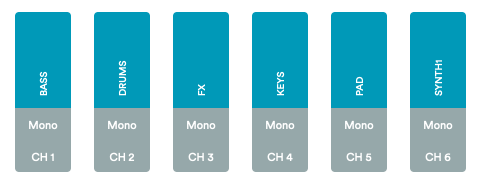
Here is an example routing setup for a track:
CH 1 – Click and Cues
CH 2 – Acoustic Guitar
CH 3 – Electric Guitars 1, 2 and 3
CH 4 – Drums
CH 5 – Background Vocals
CH 6 – Keys and Piano
CH 7 – Percussion and Loops
CH 8 – Synth and Pads
After you have finished routing the tracks for that song, click the OUTS button again to save them. Then go to the next song and do the same thing. Your audio routing will save inside of that setlist.
Connecting Track Rig to Your Soundboard
The best part about Track Rig is how easy it is to connect to your soundboard. With Track Rig’s 8 XLR Outputs, there are no direct boxes needed. Go directly to your soundboard with XLR cables. It’s that simple!
Using Prime and Track Rig together is the best way to get full control of your tracks and simplify your audio routing. Order Track Rig on TrackRig.com and download Prime for free in the iOS and Mac App Stores!


2 Comments
Matnut · April 26, 2020 at 6:57 am
Well written article
Loop Community · April 28, 2020 at 8:50 am
Thank you! Let us know if you have any questions.