Should you use Prime on a Mac, iPhone or iPad?

The Prime App is available for Mac, iPhone and iPad. All of the features in Prime are available on each device. But there are a few small differences on each device as well. Let’s take a look at the differences so that you can decide which device is best for you and your worship team.
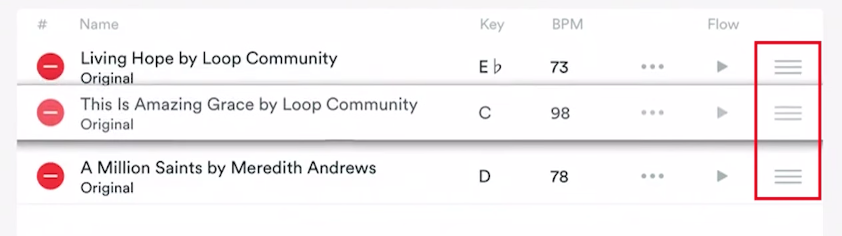
1. Editing Your Song Order
On a Mac, you can simply click and drag to reorder the songs in your setlist. On an iPad, you’ll need to press “Edit Setlist”, then drag the three lines on the right of a song to move it around a setlist. You’ll then need to select “Save changes”, to save your changes. On an iPhone, you’ll first need to click the “1,2,3” icon in the top right to pull up your setlist. From here, select “Edit Setlist”, and drag the three lines just like on the iPad.
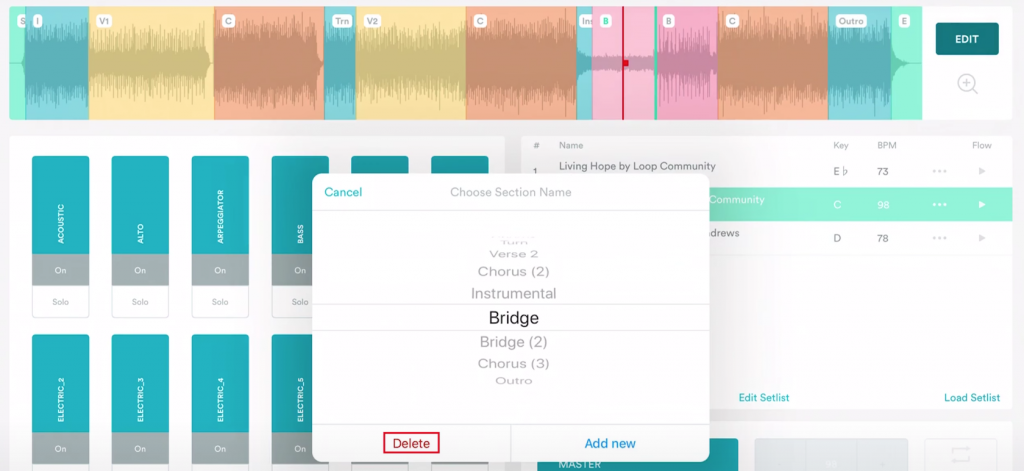
2. Editing an Arrangement
To edit an arrangement on any device, select “EDIT”, then “Edit Arrangement”. You can then simply drag the different sections where you like. You can also pull up a window where you can delete or add a section by double tapping/double clicking on a song section. This is the same for all three devices. However, on Prime for Mac, you can easily delete a section of a song by right clicking the section. This is a little shortcut for Mac users just as another way to delete a section.
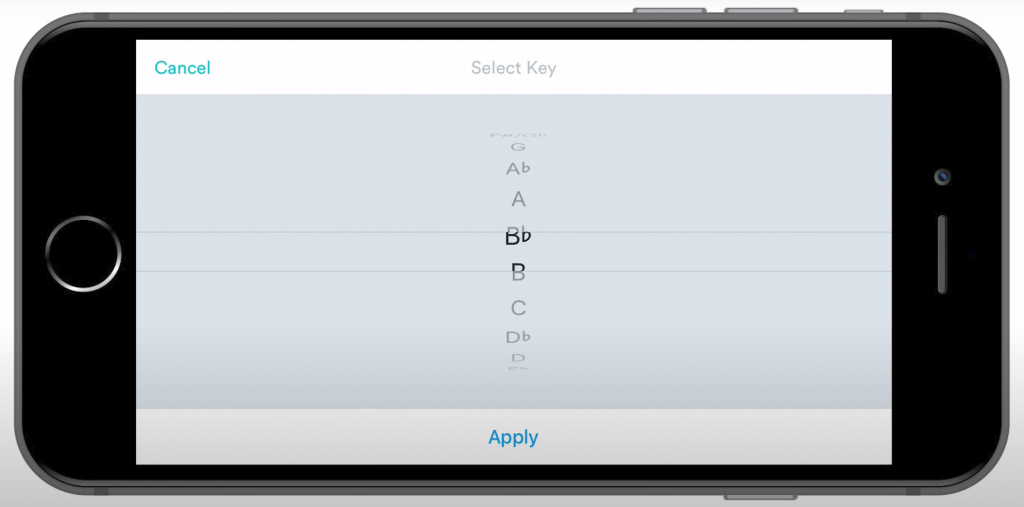
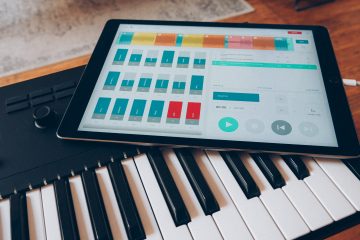
3. Changing the Key and Tempo
On a Mac or iPad, you can quickly change the tempo and key of a song by clicking the plus and minus signs right from the interface. Because the iPhone interface is a little smaller, you will first need to select either the tempo or key button to pull up another window. This new window is where you can scroll through the available key changes and time signatures.
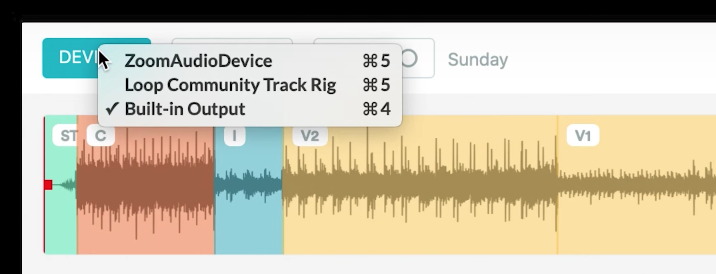
4. How to Route Audio
Now because all three devices may have different ports, each cable connection may look different. For iPhones, you will need a lightning to usb adapter, connecting to a usb cable. For iPads, you may need that same lightning adapter, or you may need a USB-C adapter instead. For Macs, you might need a USB-C adapter, or if your Mac is older you will just need a USB cable. This all depends on your device so make sure you get the correct one for you.
For iPad and iPhone, once you insert the USB cable with the correct adapter, the “OUTS” button will automatically light up in Prime. You can then select that button to route your tracks to the desired outputs. For Prime for Mac, there is one extra step. After you insert the cable with the correct adapter if needed, the “OUTS” button will not automatically light up. Instead, you will have to click the “DEVICES” button at the top, then select your audio interface. This is when the “OUTS” button will light up for you to route your outputs.
And that’s it! There aren’t that many differences in Prime between Mac, iPad or iPhone. Regardless of device, you have everything you need to easily run your tracks in worship. Download Prime for free in the Mac and iOS App stores.


0 Comments