How to Export Stems in Ableton Live
Learn how to export stems in Ableton Live!
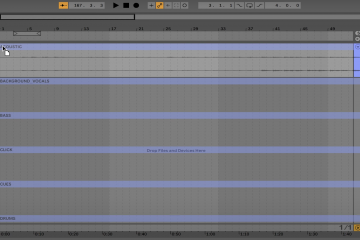
1. Check your tracks
Before you jump to exporting, make sure all of your tracks are correct. Check volume levels, make sure the tracks line up, and then double check it. It’s a terrible feeling to export your tracks and then find out that they’re all out of sync.
2. Rename stems
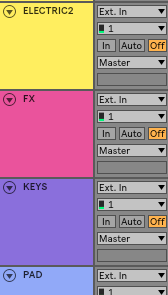
Right click on the name of your first stem, click Rename, and then type in the name of your stem. Then click tab to quickly cycle through your stems and rename them. Make sure if you have multiple stems with the same instrument you number them: EGTR, EGTR2, EGTR3, etc.
3. Export your stems
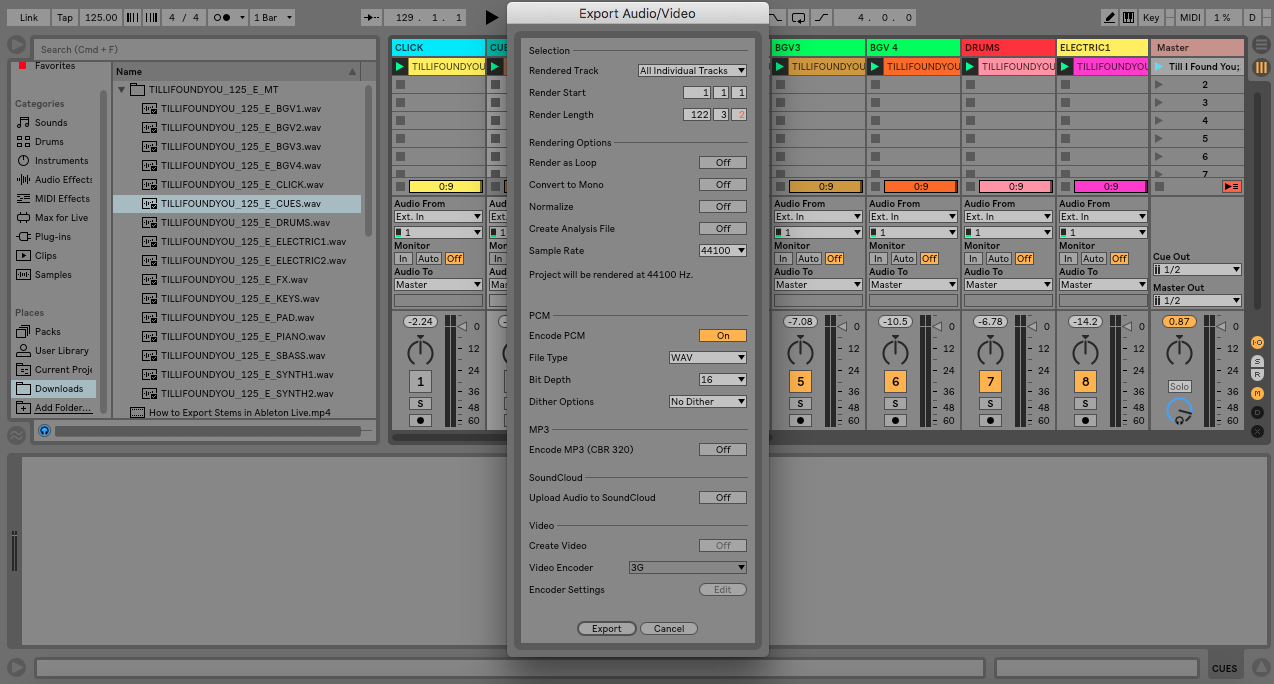
Click File, then Export Audio/Video. You can also use the keyboard shortcut: Shift + Command + R to quickly open the Export Audio/Video window. 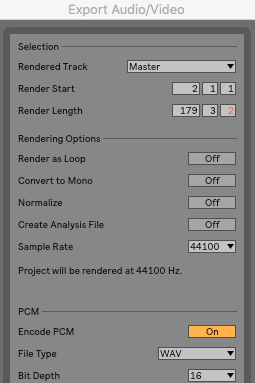
4. Export settings
A. Rendered Track
There are a number of options for how you export your tracks. The main two options are Master and All Individual Tracks. If you select Master, all of your tracks will be combined to one audio file. Selecting All Individual Tracks keeps all of the stems separated. If you are uploading to the Loop Community PRIME app and want to have control over all of the instruments, make sure you select All Individual Tracks.
B. File Type
This setting lets you select what type of audio file you would like your tracks to be. If you are uploading your track to Loop Community we suggest WAV files.
C. Sample Rate and Bit Depth
Our recommended Sample Rate is 44100 and Bit Depth is 16. These are the default settings and work the best with PRIME.
D. Other Settings
Make sure Normalize is set to OFF. We set Create Analysis File to OFF so that the .asd copy files of the audio are not created. Set Dither Options to No Dither. There are times when these features are good, but when exporting tracks, especially for use in PRIME, they should be set this way.
E. Click Export
5. Save Your Tracks
Choose your save location for the tracks. Make sure this is somewhere you will easily be able to access them. Then name your files. We recommend naming them: NAMEOFTRACK_BPM_KEY. This helps with organization, and it helps you know the important information about your tracks. Then click Save.
6. Compress Files
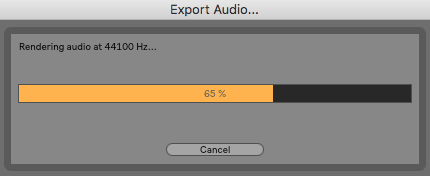
Your files will export out of Ableton. This can take some time depending on bit depth and the size of the files. Once they have exported, go to where you saved them on your computer. If you exported the tracks individually, there will be an extra default bounce that is a stereo track of everything. These can be discarded. Then highlight the individual stems, right click and compress them. This will put them all in a zip file. Once these are compressed you will have one file with all the tracks to help them be organized. This is also how you can upload them to Loop Community.
![]()
Click here to learn more about uploading your tracks to PRIME!
2 Comments
Thomas Chumney · December 15, 2018 at 4:43 pm
how can you export your markers from Ableton live to loop community so when you upload the stems it will all ready have your markers on the stems from Ableton?
Matt McCoy · January 9, 2019 at 3:54 pm
You can’t export markers from Ableton Live.